

OpenCore Legacy Patcher
Experience macOS just like before
Experience macOS just like before
Built with security in mind
Native OTA updates
Zero firmware patching
Supporting more hardware
The newest features
A helpful community
What is OpenCore?
OpenCore is a sophisticated boot loader used to inject and patch data in memory, instead of on disk. This means that we're able to achieve a near-native experience on many unsupported Macs.
- We recommend viewing the OpenCore Patcher Terminology Page if you have questions.
- For troubleshooting, join the OpenCore Patcher Paradise Discord Server and see our Troubleshooting Page.
How do I get started?
The first step of ensuring whether your model is supported is by checking the Supported Models page.
The first step of ensuring whether your model is supported is by checking the Supported Models page.
Build and run from source
OpenCore Legacy Patcher at its core is a Python-based GUI/CLI-based application. In turn, to run the project from source, you simply need to invoke the OpenCore-Patcher-GUI.command file via Python.
For developers wishing to validate mainline changes, you may use this link: GUI (Graphical Based App)
Warning: Nightly builds (untagged builds built from the latest commit) are actively developed OpenCore Legacy Patcher builds. These builds have not been tested, are not guaranteed to work, and are not guaranteed to be safe. Do not use nightlies without a good reason to do so, and do not use them on your main machine. Additionally, these binaries should not be used without first consulting the CHANGELOG.
Do not share any links to these binaries in forums; please link to this document only.
- Additionally, do not reupload these binaries or download binaries from other sites. Using binaries from untrusted sources is a security issue, as they may have been tampered with.
Users running new builds of the project without understanding what has changed and the implications of installing software under active development are at a higher risk of bricking their installation as they do not read any warnings provided in the CHANGELOG. We wish to minimize these situations as much as possible.
Getting Started
To start, ensure you have Python 3.6 or newer installed. Additionally, ensure that it was downloaded from the official source, python.org.
- Python installations either preinstalled or provided with Xcode or the Xcode Command Line Tools are unsupported due to reliability issues.
Once Python is installed, open Terminal and run the following:
# Move into a directory to store the project
cd ~/Developer
# Clone project
git clone https://github.com/dortania/OpenCore-Legacy-Patcher
# Move into Project directory
cd ./OpenCore-Legacy-Patcher
# Install Python dependencies used by the project
pip3 install -r requirements.txt
If you have any installation errors, see the following troubleshooting options:
- Use Python 3.10
- Our build server currently uses Python 3.10 for generating binaries used in releases
- Use .whl snapshots for installing additional dependencies
Running OpenCore Legacy Patcher
To run the project from source, simply invoke via python3:
# Launch GUI
python3 OpenCore-Patcher-GUI.command
Note that the OpenCore-Patcher-GUI.command file can be run as both a GUI and a CLI utility for other programs to call. If no core arguments are passed, the GUI is initialized. Otherwise the CLI will start:
# Launch CLI
python3 OpenCore-Patcher-GUI.command --build --model iMac12,2 --verbose
Pass -h or --help for more information on supported CLI arguments.
Generating prebuilt binaries
The main goal of generating prebuilt binaries is to strip the requirement of a local Python installation for users. For developers, there's very little benefit besides enabling dark mode support in the GUI. For development, simply use the OpenCore-Patcher-GUI.command file with a Python 3 installation.
# Install PyInstaller
pip3 install pyinstaller
# Move into project directory
cd ~/Developer/OpenCore-Legacy-Patcher/
# Create the pyinstaller based Application
# Optional Arguments
#    '--reset_binaries':     Redownload and generate support files
python3 Build-Binary.command
# Open build folder
open ./dist/
Once done, you'll find the application generated at ./dist/OpenCore-Patcher.app:

Boot Process with OpenCore Legacy Patcher
OpenCore Legacy Patcher itself is actually quite a "dumb" program. It essentially edits a config.plist file and moves files around, actually having little logic regarding the boot process. The real magic of OCLP is OpenCorePkg, our back-end, and what makes this patcher so powerful.
Boot Process with OpenCore
To understand a bit more of how OpenCore is able to revive older Macs in such a native-like way, we need to go over howOpenCore works with your Mac:

Download and build macOS Installers
This document is centered around downloading and writing the macOS installer to a USB drive. If you're already familiar with how to do this, you can skip this section.
- Note: 16GB+ USB drive will be required for the installer
This document is centered around downloading and writing the macOS installer to a USB drive. If you're already familiar with how to do this, you can skip this section.
- Note: 16GB+ USB drive will be required for the installer
#Creating the installer
With OpenCore Legacy Patcher, our new GUI includes a download menu for macOS installers. So to start off, you'll want to grab our app:
For this guide, we'll be using the standard OpenCore-Patcher (GUI).
Once downloaded, open the app and you should be greeted by this menu:
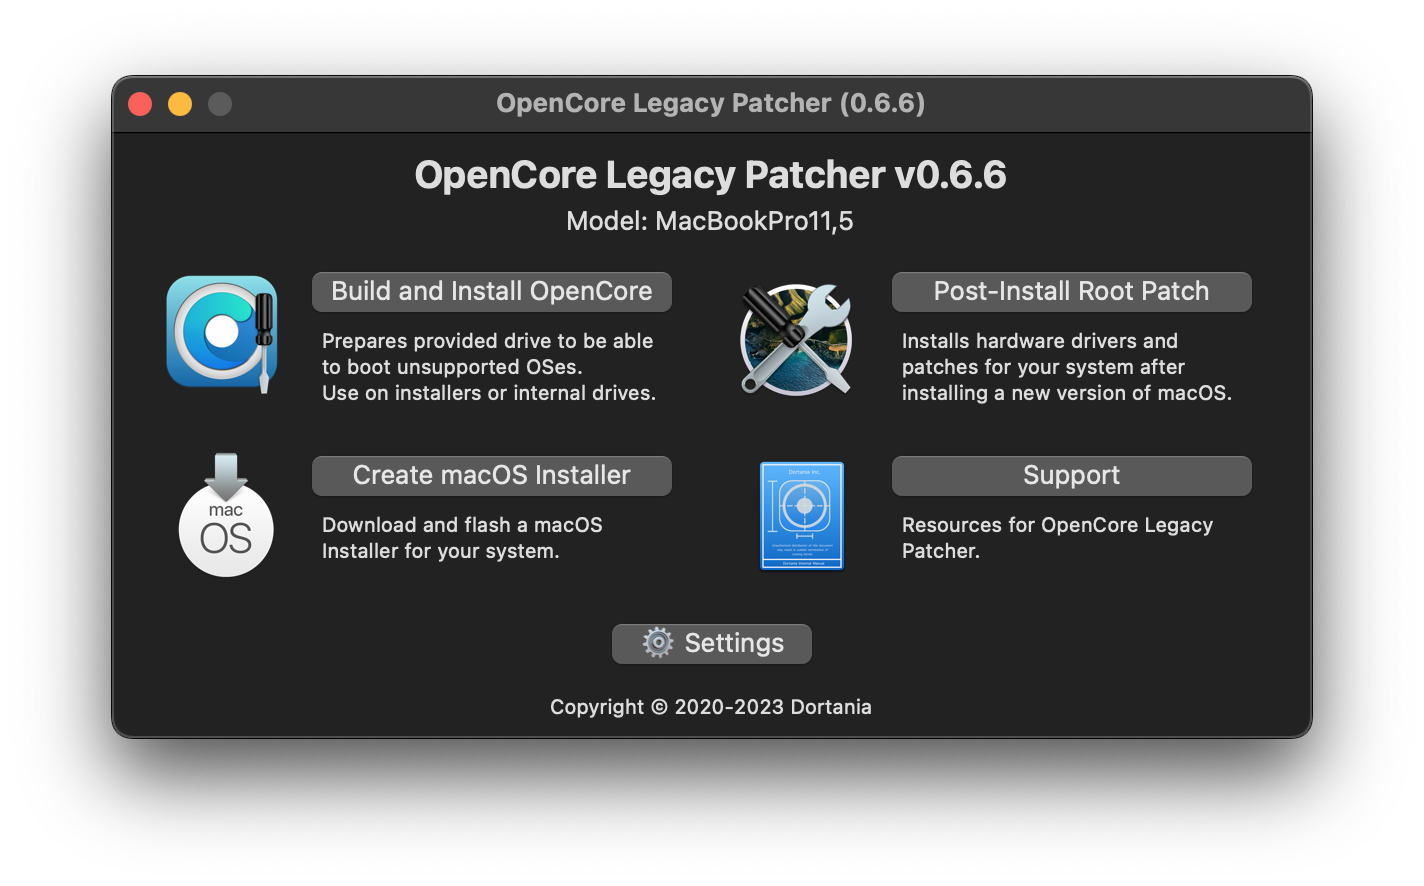
First, we'll want to select the "Create macOS Installer" button. This will present you with 2 options:
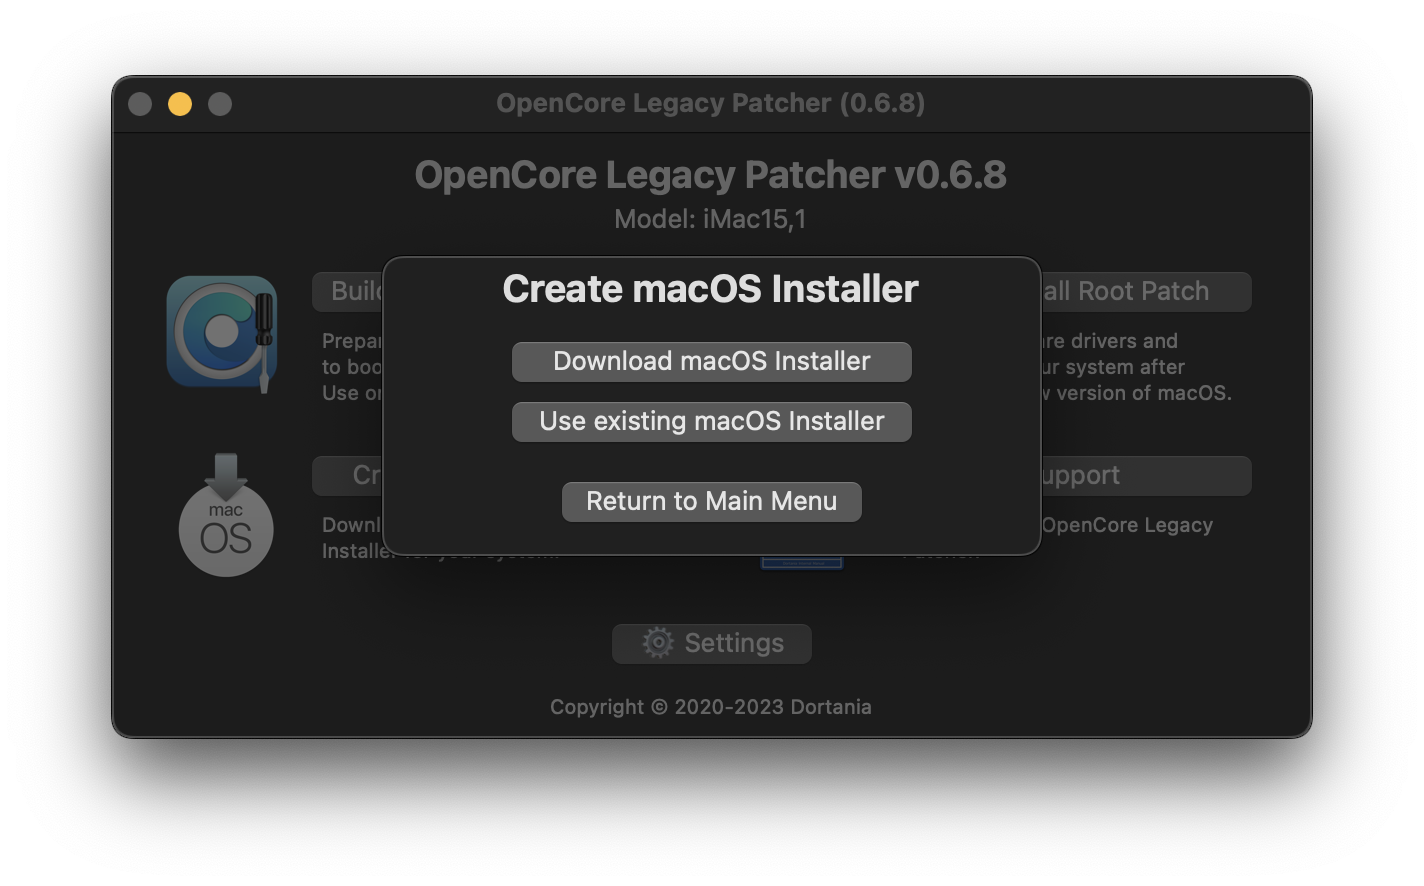
For this example, we'll assume you'll need an installer. Selecting this option will download Apple's Installer Catalogs and build a list for you to choose:
Downloading Listed Installers Unsupported Installer 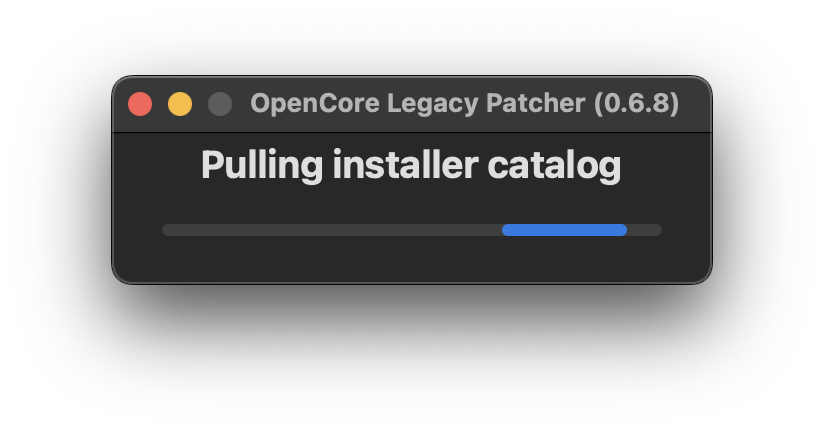
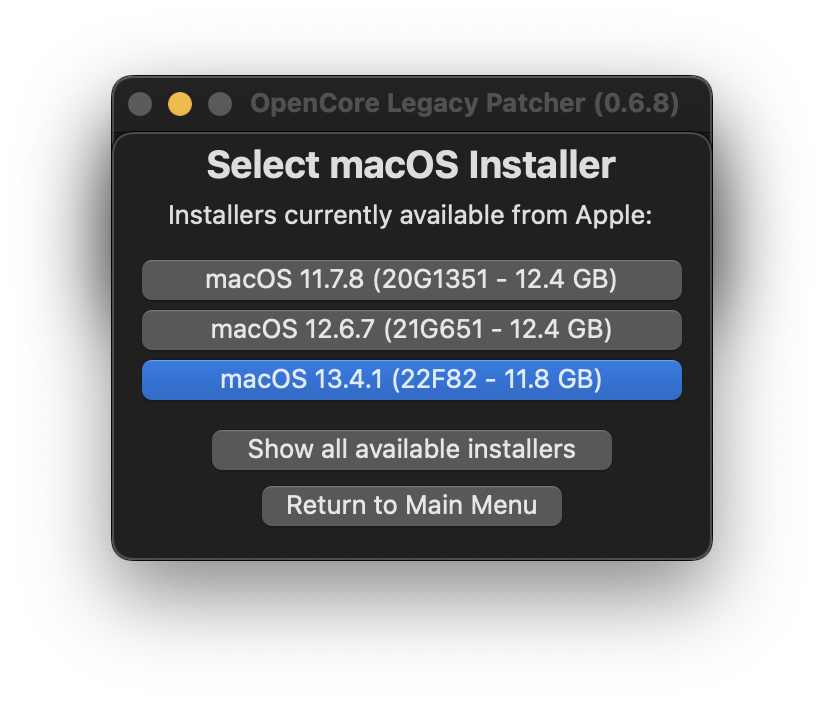
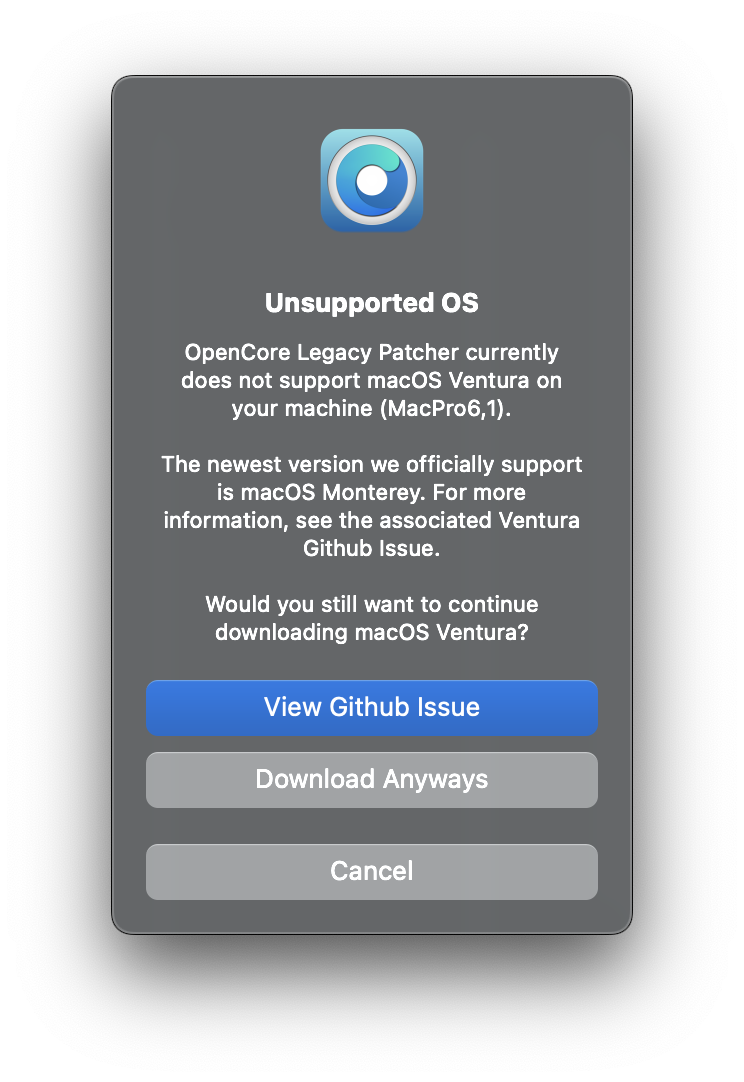
Since the patcher officially supports Big Sur and newer for patching, only those entires will be shown. For ourselves, we'll select macOS 12 as that's the latest public release at the time of writing. This will download and install the macOS installer to your applications folder.
- Note that some machines (namely 2012 and older) may not be currently supported on macOS Ventura. If you see this prompt, you'll need to use an older version of macOS.
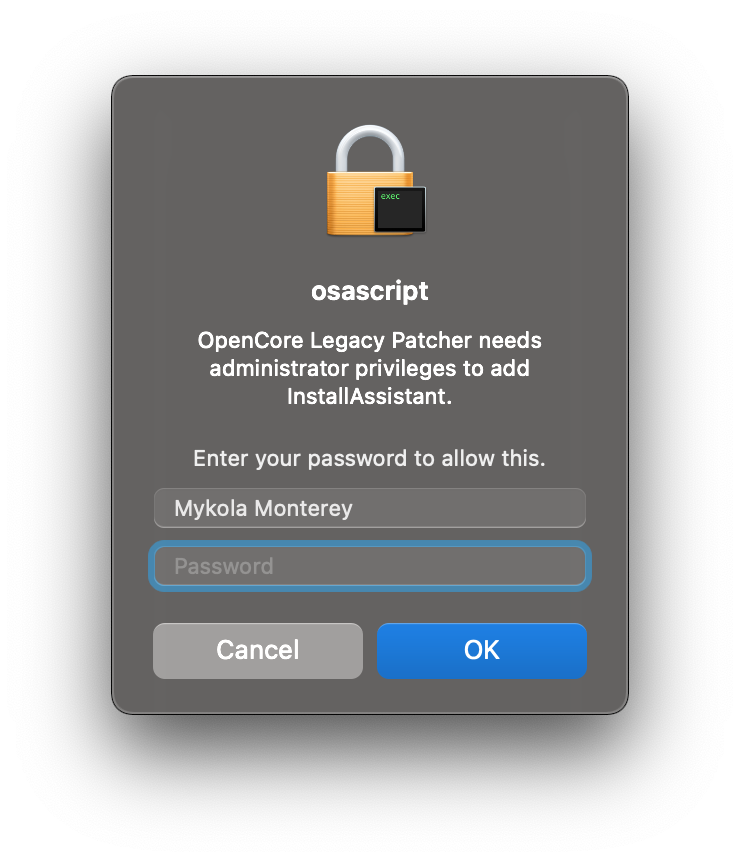
Downloading the Installer Requesting to install Finished Installing 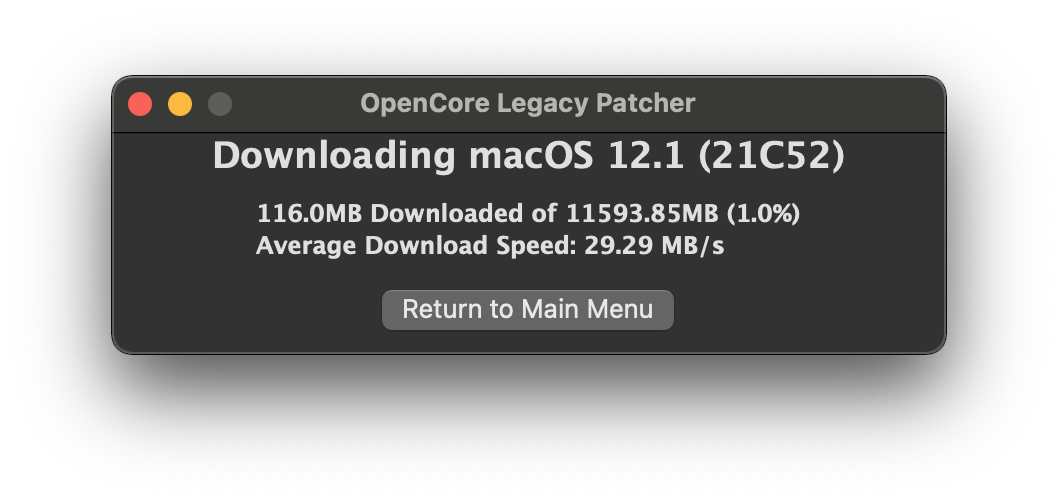
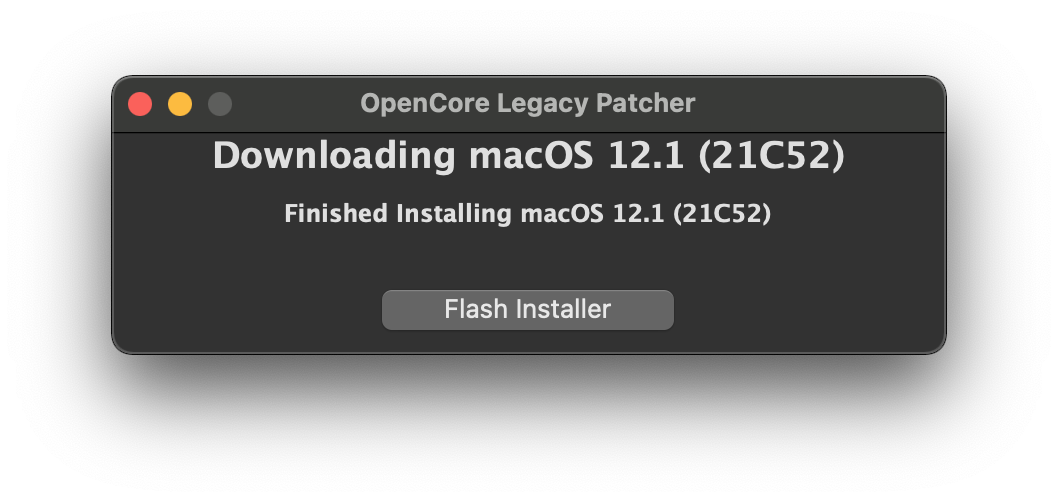
Once finished, you can proceed to write the installer onto a USB drive.
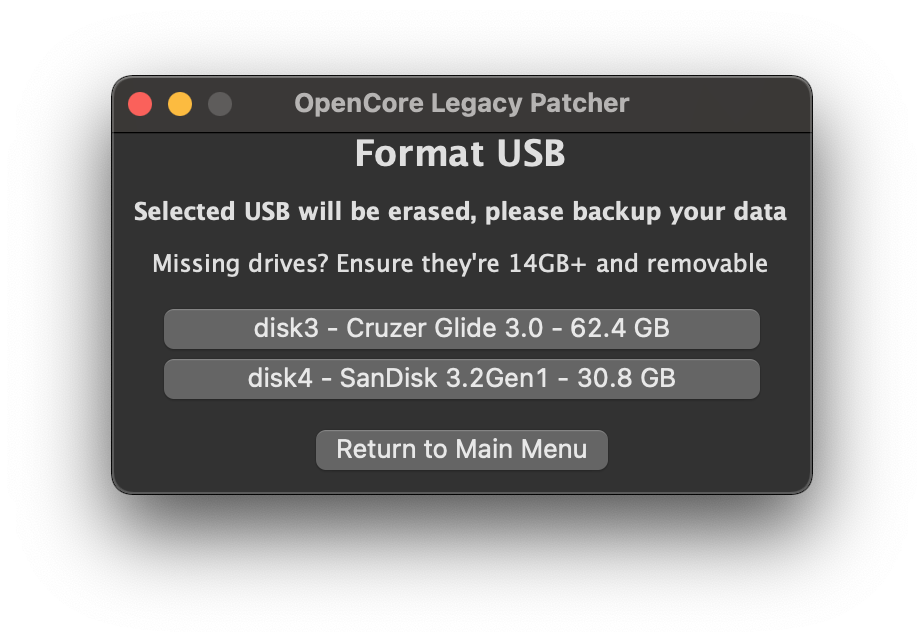
- Note: The entire USB drive will be formatted
Select Downloaded Installer Select disk to format 
Now the patcher will start the installer flashing!
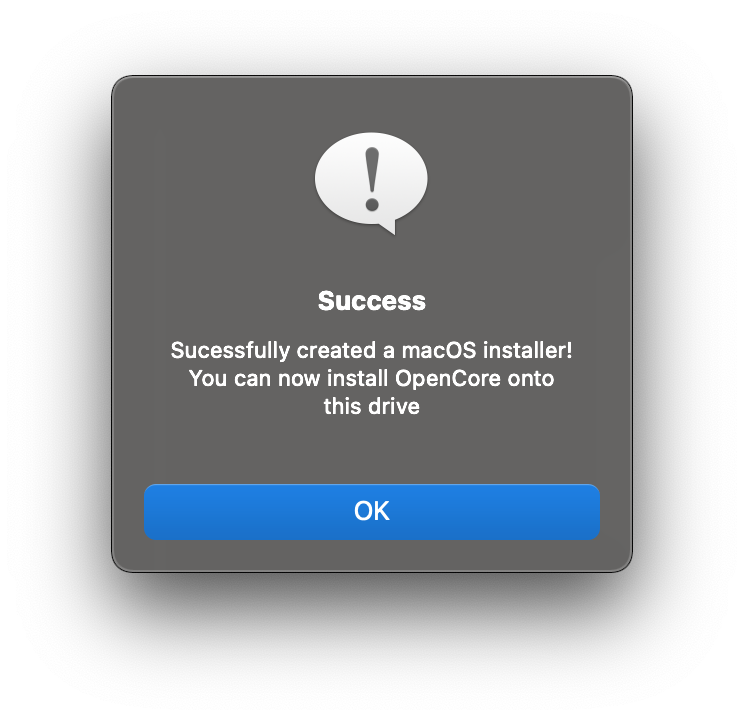
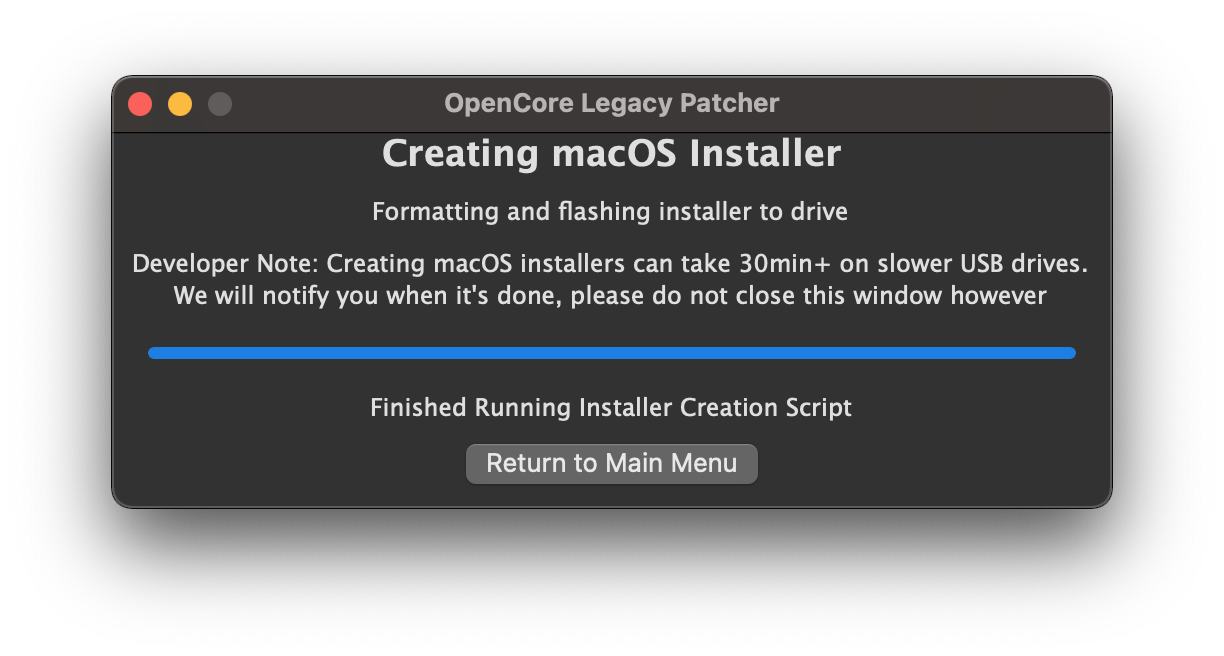
Flashing Success Prompt Finished Flashing 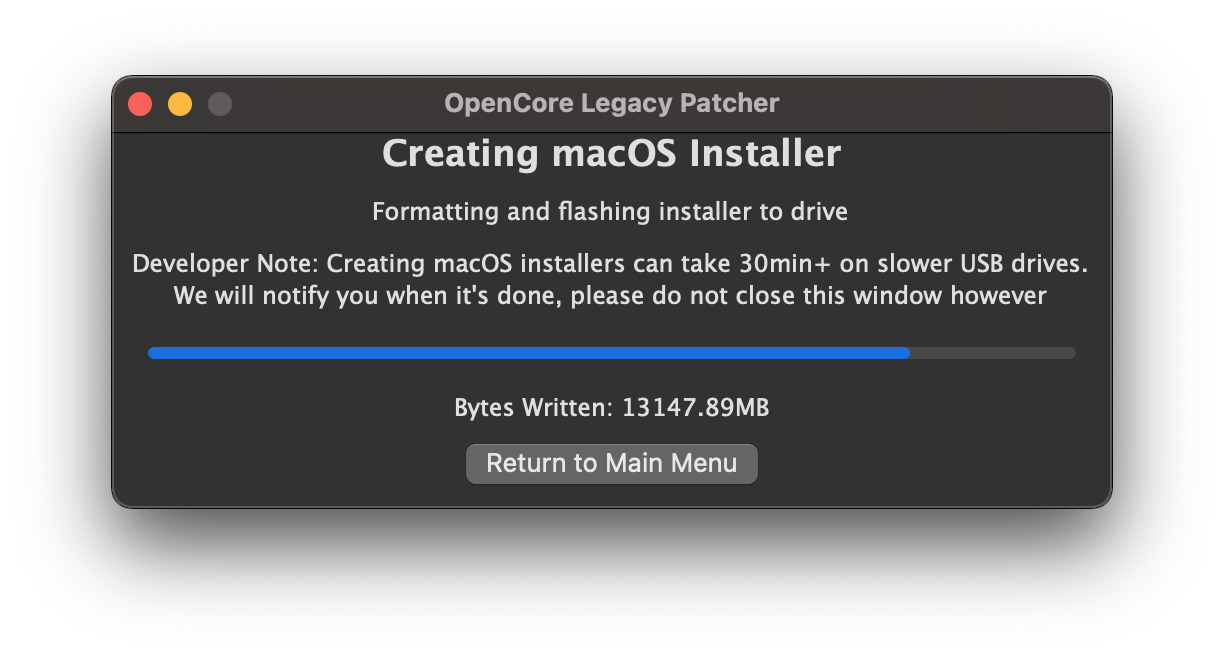
With OpenCore Legacy Patcher, our new GUI includes a download menu for macOS installers. So to start off, you'll want to grab our app:
For this guide, we'll be using the standard OpenCore-Patcher (GUI).
Once downloaded, open the app and you should be greeted by this menu:
First, we'll want to select the "Create macOS Installer" button. This will present you with 2 options:
For this example, we'll assume you'll need an installer. Selecting this option will download Apple's Installer Catalogs and build a list for you to choose:
| Downloading | Listed Installers | Unsupported Installer |
|---|---|---|
| | |
Since the patcher officially supports Big Sur and newer for patching, only those entires will be shown. For ourselves, we'll select macOS 12 as that's the latest public release at the time of writing. This will download and install the macOS installer to your applications folder.
- Note that some machines (namely 2012 and older) may not be currently supported on macOS Ventura. If you see this prompt, you'll need to use an older version of macOS.
| Downloading the Installer | Requesting to install | Finished Installing |
|---|---|---|
| | |
Once finished, you can proceed to write the installer onto a USB drive.
- Note: The entire USB drive will be formatted
| Select Downloaded Installer | Select disk to format |
|---|---|
| |
Now the patcher will start the installer flashing!
| Flashing | Success Prompt | Finished Flashing |
|---|---|---|
| | |
#Once finished, head to Building and installing OpenCore
Booting OpenCore and macOS
Now we finally get to boot OpenCore!
Reboot the machine while holding Option to select the EFI Boot entry with the OpenCore icon (holding the Control key will make this the default boot entry):
- This will be the Mac Boot Picker

::: details Note for Mac Pros/Xserves/iMacs with unflashed GPUs
(Adapted from the OpenCore on the Mac Pro guide)
For Mac Pro, Xserve and, iMac users with non-flashed GPUs, you can still easily boot OpenCore and view the entire boot process.
Firstly, open the Terminal and run the following command:
sudo nvram "recovery-boot-mode=unused" && sudo reboot recoveryThis will make your machine reboot into the Recovery Environment. Alternatively, holding Command + R when your machine is starting up will also let you enter the Recovery.
Secondly, open the Recovery Environment's Terminal (Menu bar > Utilities > Terminal).
Now you'll want to get a list of drive identifiers. To do so, run the following command:
diskutil listThe command should produce a list of drives installed in your system: 
Keep track of the drive with the OCLP install. You will need the drive identifer for later.
Now you'll want to mount the EFI partition (where OCLP is installed, though it may differ if you've installed OCLP to a FAT-32 volume).
Run the following command (Replace X with the drive number):
diskutil mount diskXs1 If everything is correct, the EFI partion should be mounted.
Now you'll want to use the bless command to set the default boot device:
bless --mount /Volumes/EFI --setBoot --file /Volumes/EFI/System/Library/CoreServices/boot.efiOnce the command is run, it should produce no output. 
If the command produces an output, ensure that you've typed it in correctly.
Now you can reboot your machine. OCLP is now the default boot option! :::
Now that you've loaded OpenCore, "select Install macOS":
- This will be the OpenCore Picker

You will soon reach the installer screen! If you enabled verbose mode when building OCLP, a lot of text will run across the screen. From there, it's just like any normal macOS install. For an example of how the boot process looks, see the following video:
If your Mac is looping back into the beginning of the setup after the first reboot, turn it off, start it again and hold Option. This time, select the option with a grey hard disk icon, it can say "macOS Installer" or the name you gave the disk during the installer process. Keep repeating this step after every reboot if necessary.

::: warning
MacBookPro11,3 Note: When booting macOS Monterey, you'll need to boot into safe mode if acceleration patches are not installed yet. Otherwise, you'll hit a black screen due to missing NVIDIA drivers. Safe Mode can be entered by holding Shift + Enter when selecting macOS Monterey in OCLP's Boot Menu.
:::


0 Comments