
How you can use your laptop as a second monitor for your PC

If you're someone who multi-tasks a lot on your PC, you know you can never have enough space for all your apps, and working on a single screen can be a huge hinderance. Buying a second monitor is probably the best option, but what if you don't want to do that right now? The good news is you can use your laptop as a second screen for your main computer, and you don't even need a third-party app for it. Here's how it works.
Use your Windows laptop as a wireless display
Windows 11 comes with an app called Connect, which is hidden by default. By installing this app, your laptop becomes a wireless display, as long as it supports Miracast (which most Windows laptops do). Here's what you need to do:
- On the laptop that will be your second monitor, open the Settings app.
- Navigate to the System section and scroll down to Optional features.
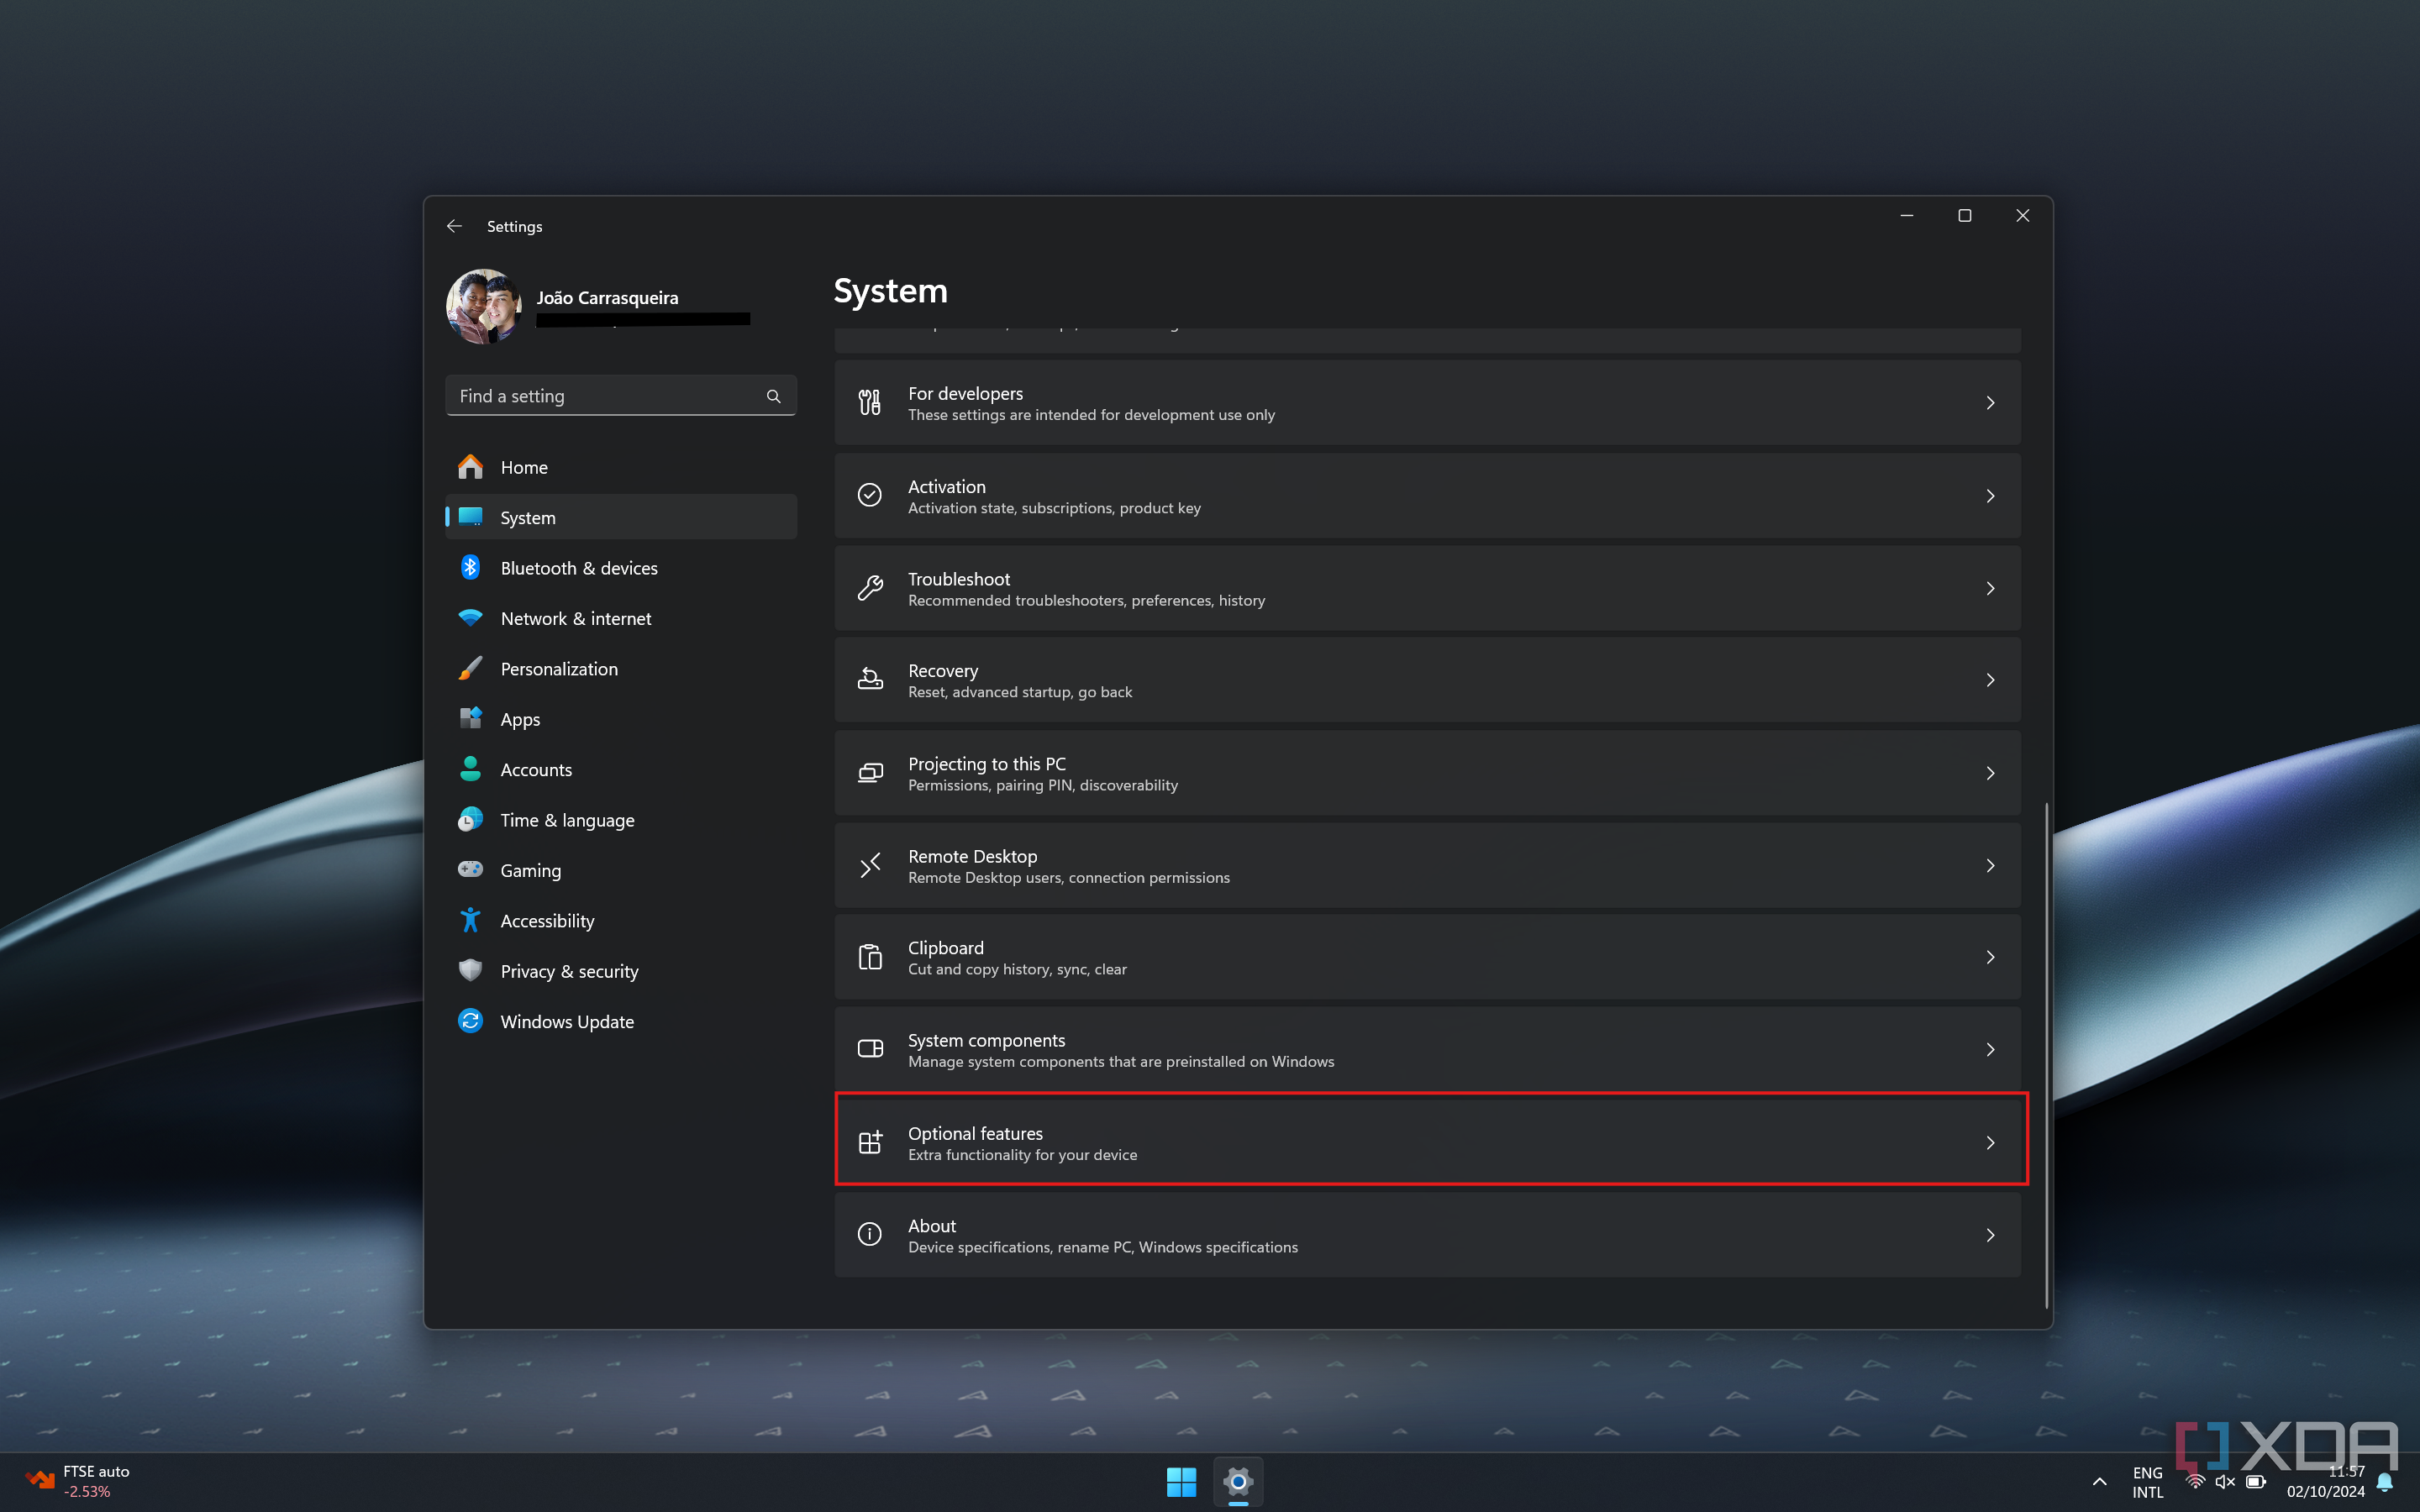
On some older versions of Windows, optional features may be in the Apps or Apps and features section.
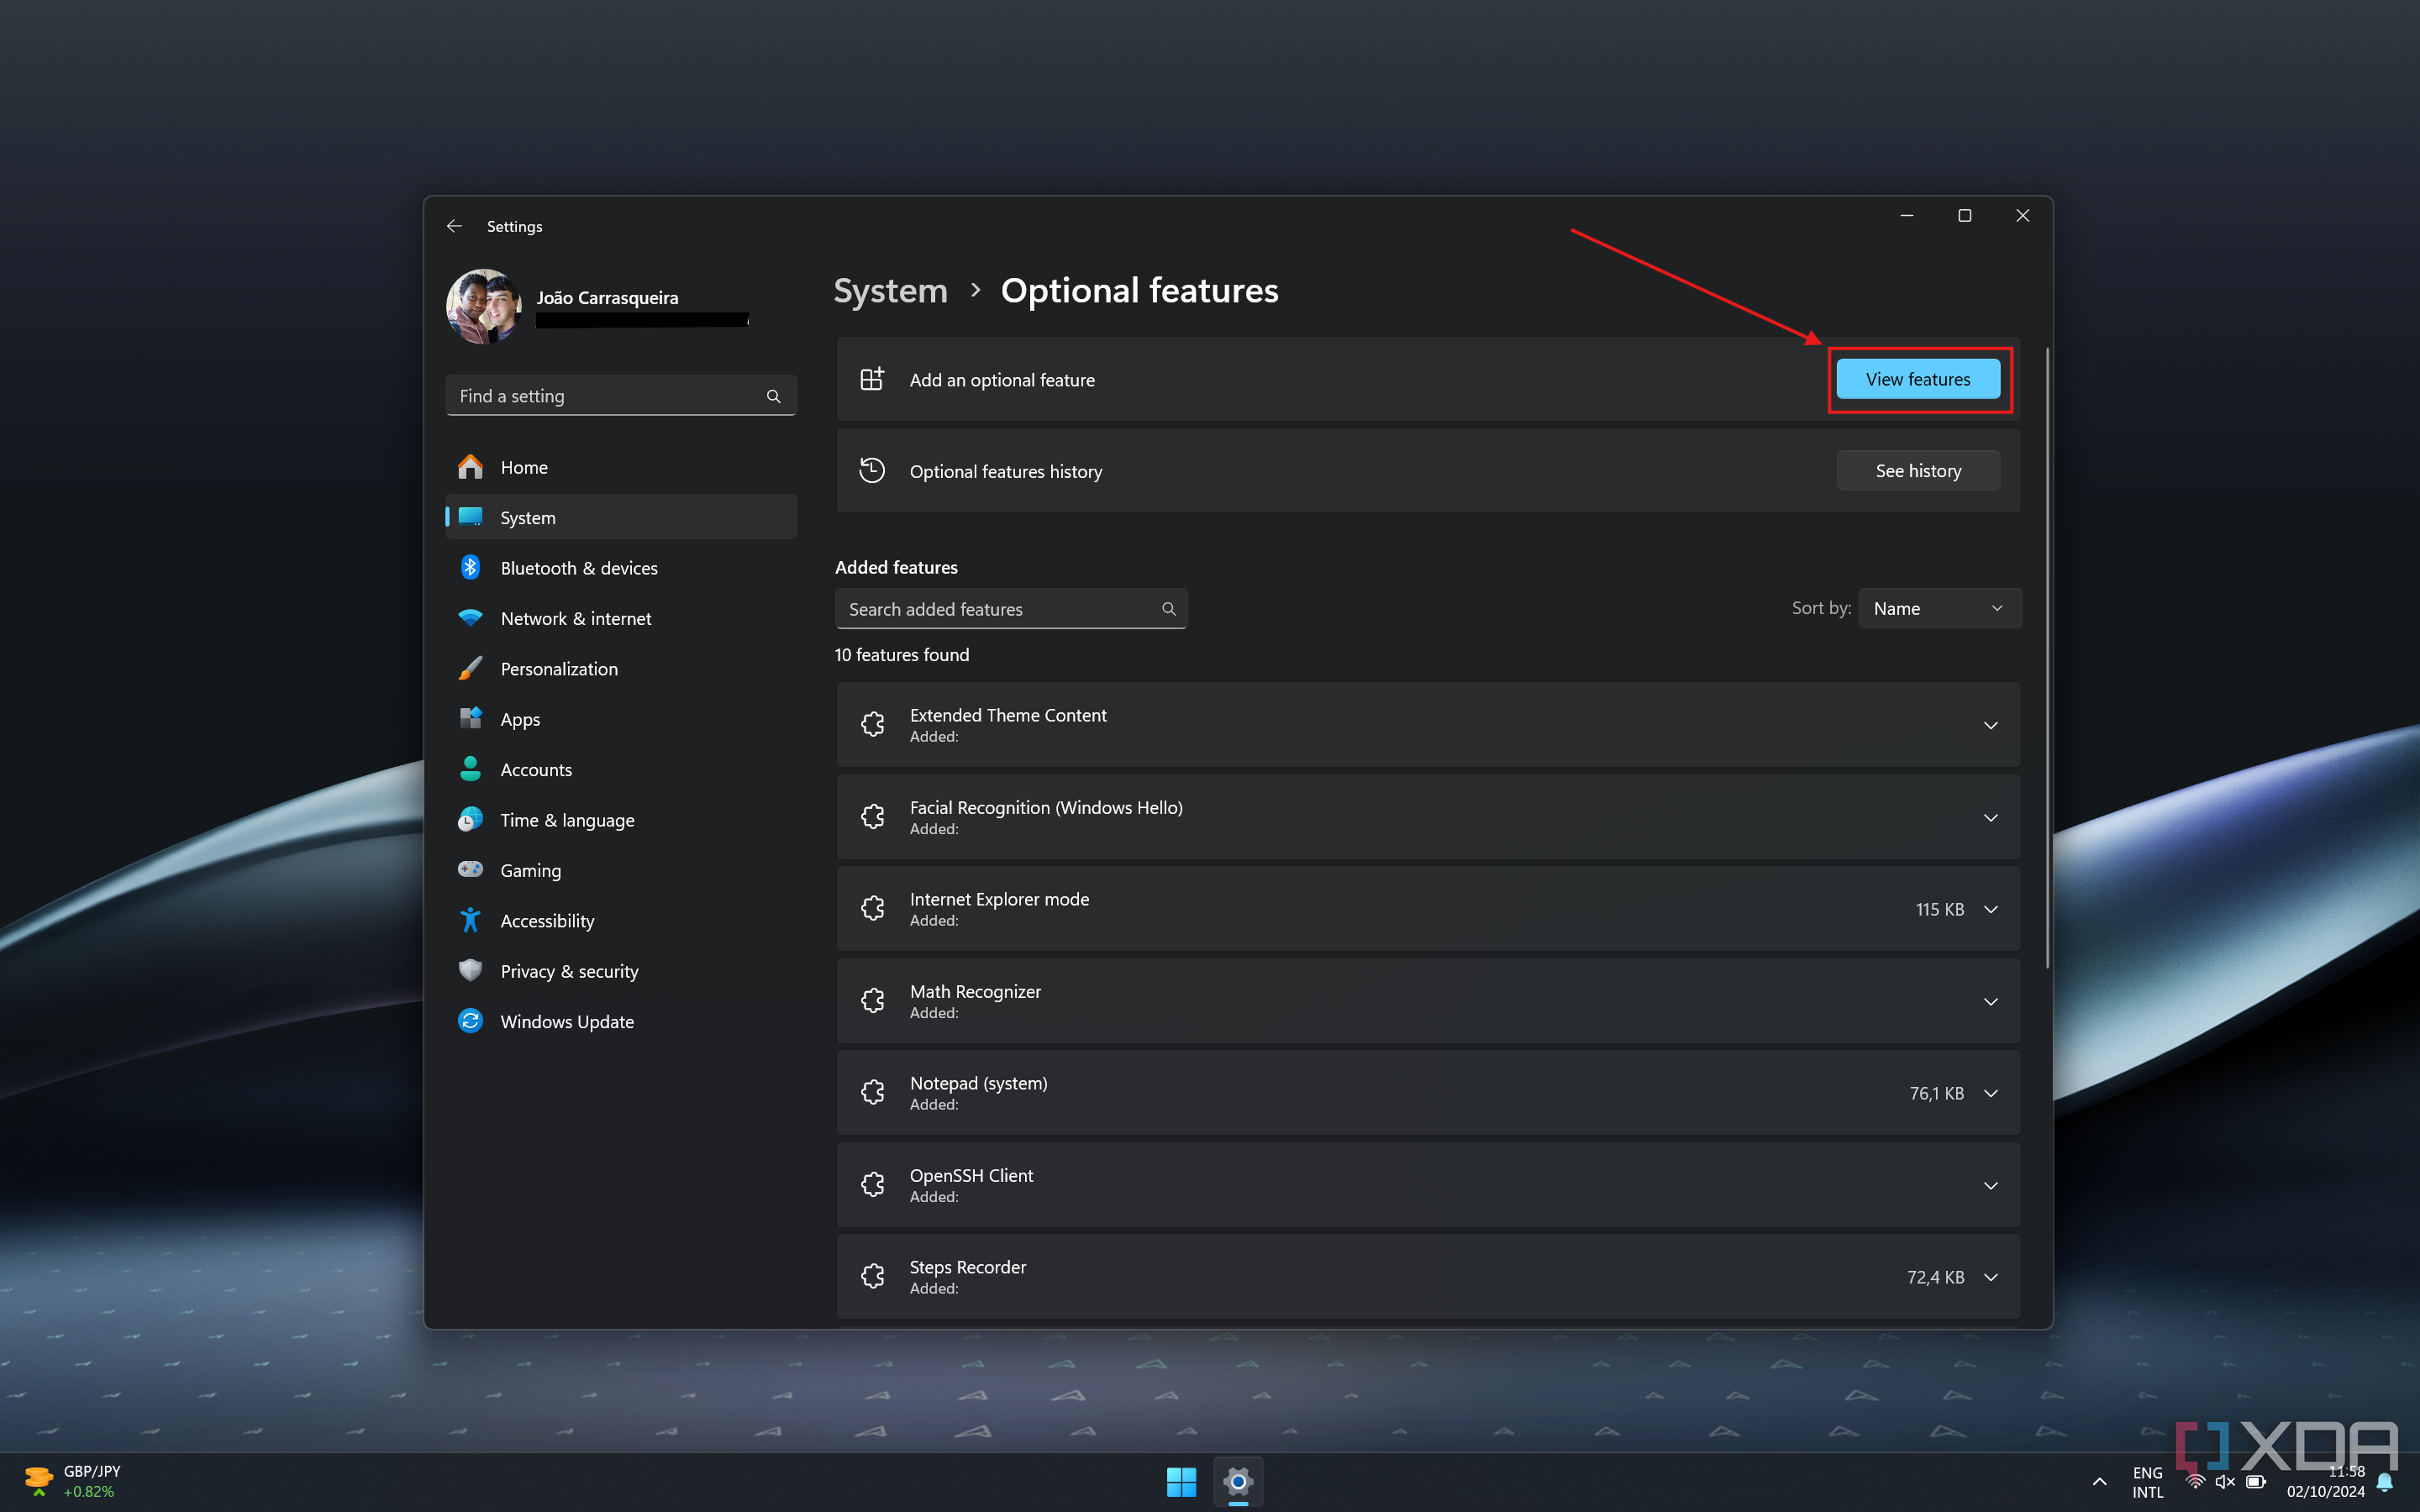
- Click View features next to Add an optional feature.
- Scroll down to find the Wireless display option and check the box next to it.
- Click Next.
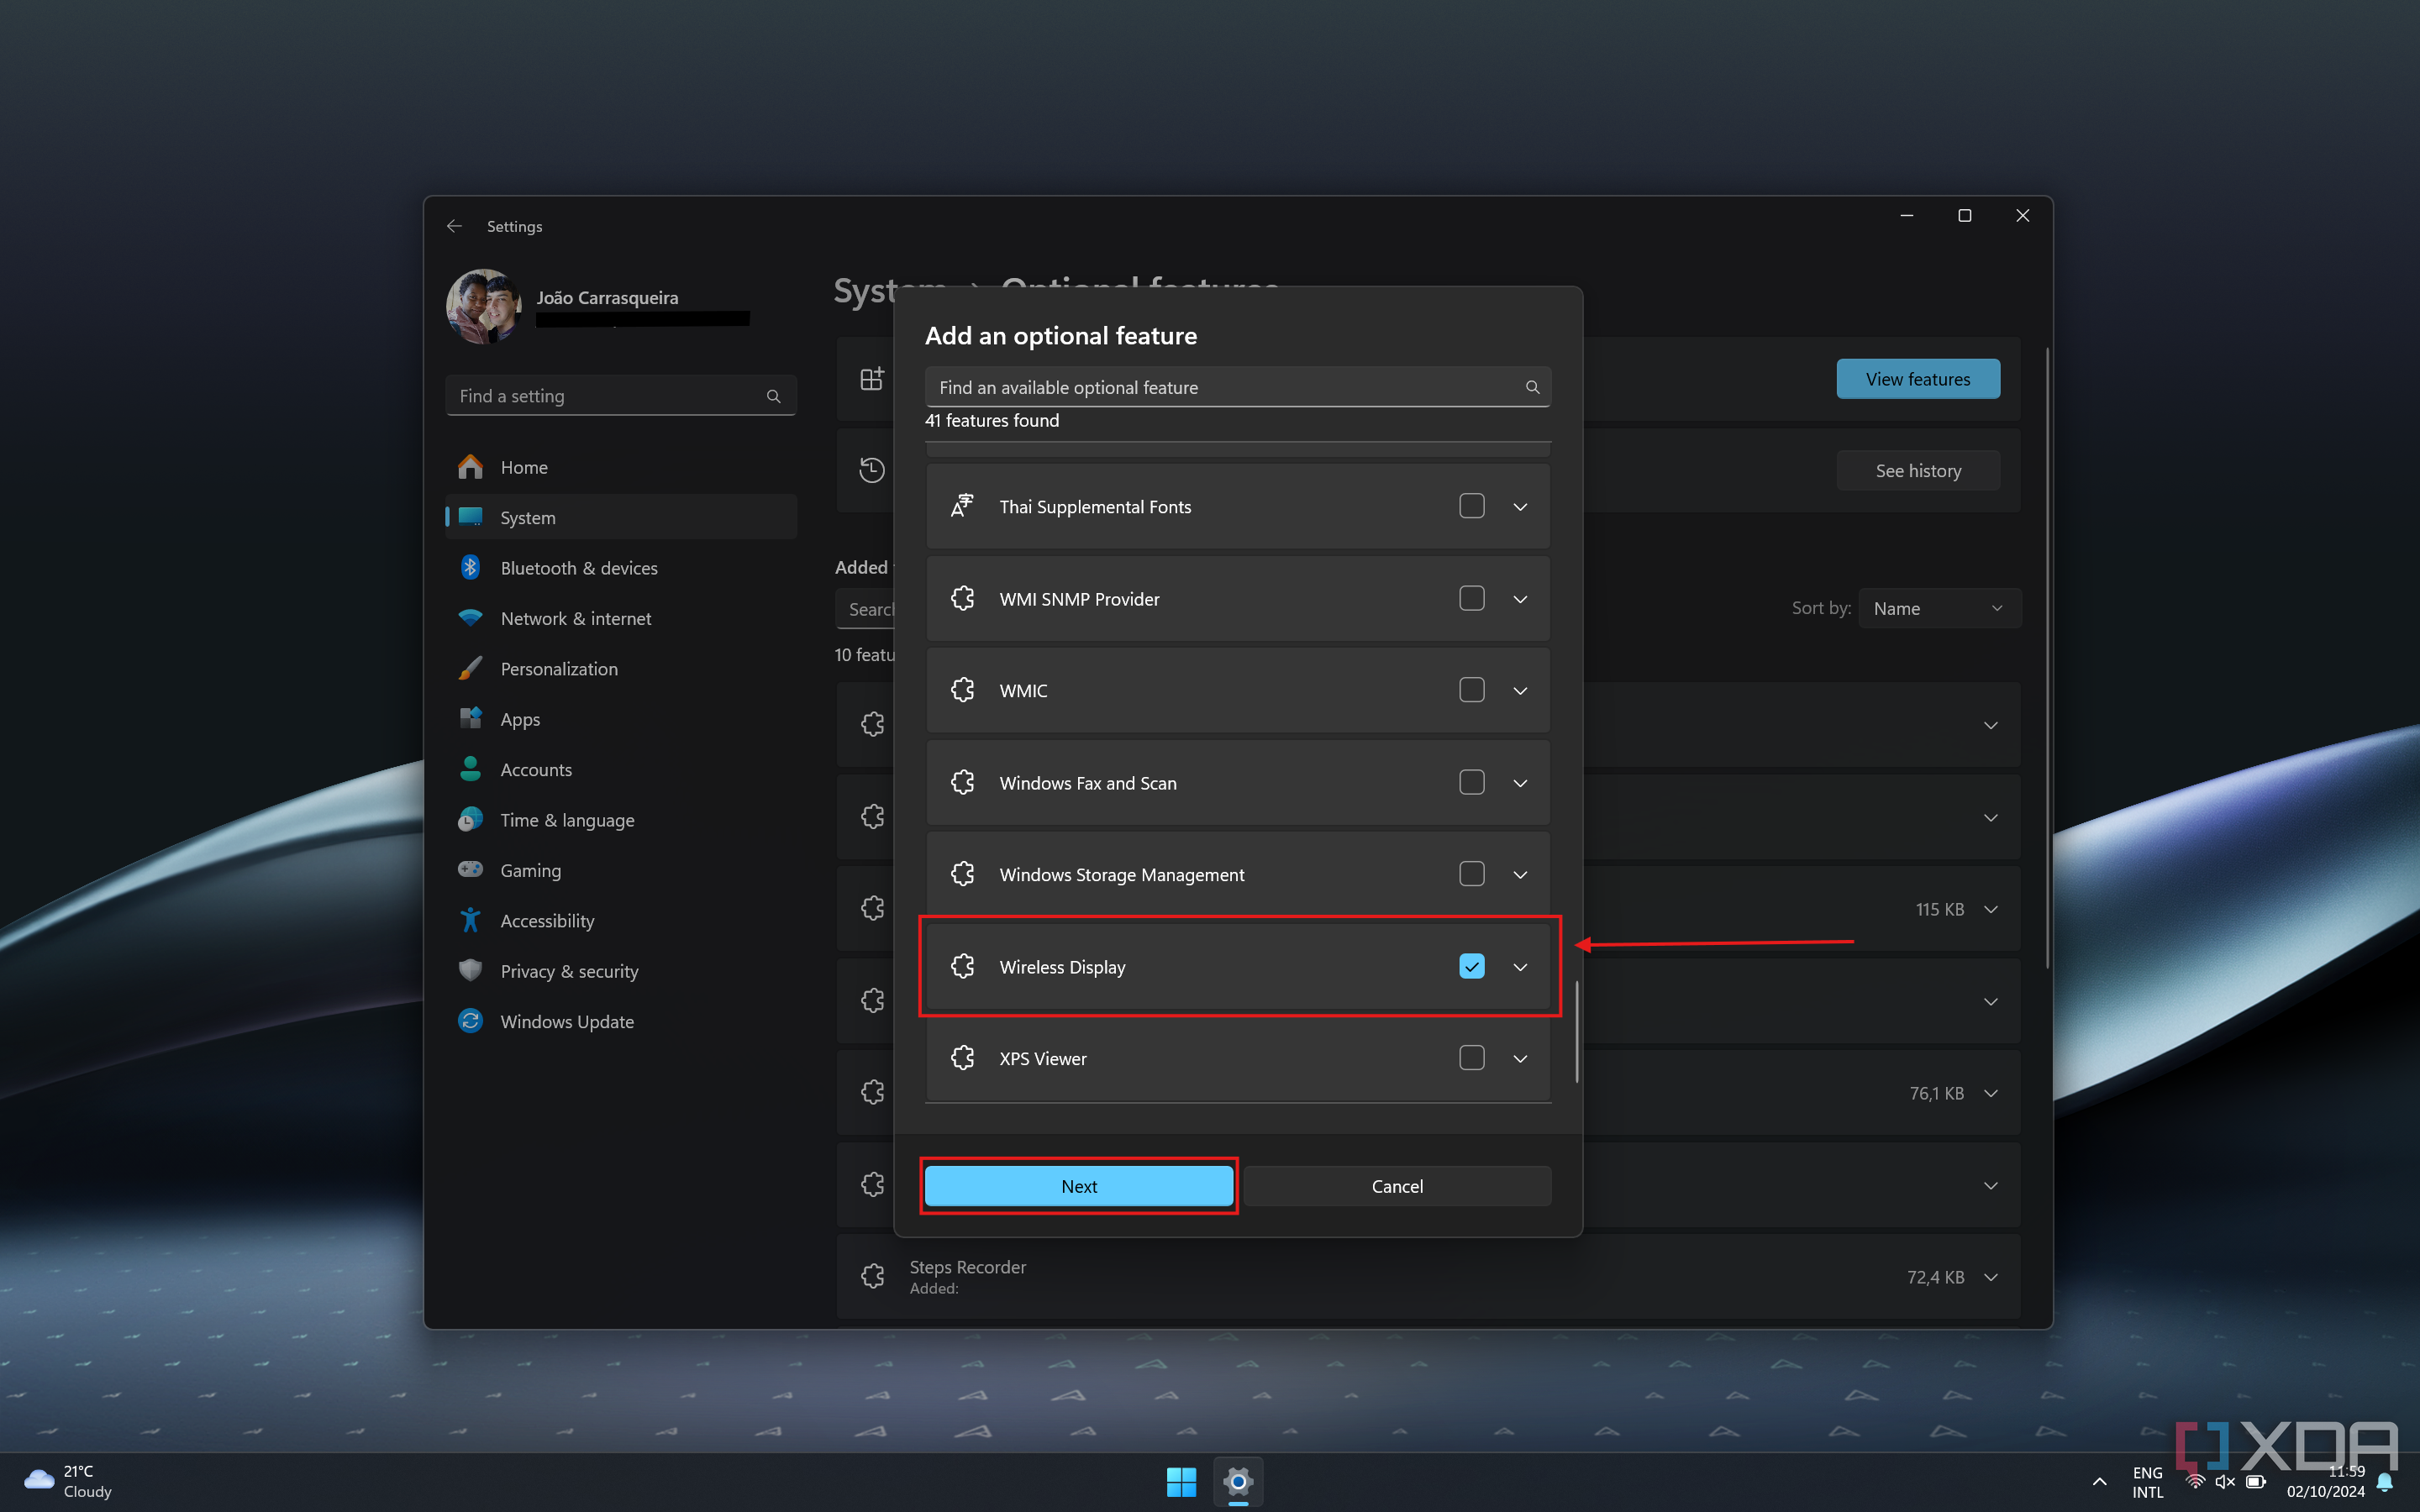
- Click Add.
Now, just wait for your PC to finish installing the feature, and your laptop will be ready to act as a wireless display. This may take a while, so be patient. Once it's done, you should see a Wireless Display app (also called Connect, in some versions of Windows) in your Start menu. Follow these steps:
- Open the Wireless Display app on the laptop you're using as a second monitor
- On your main PC, press Windows + K to search for wireless displays.
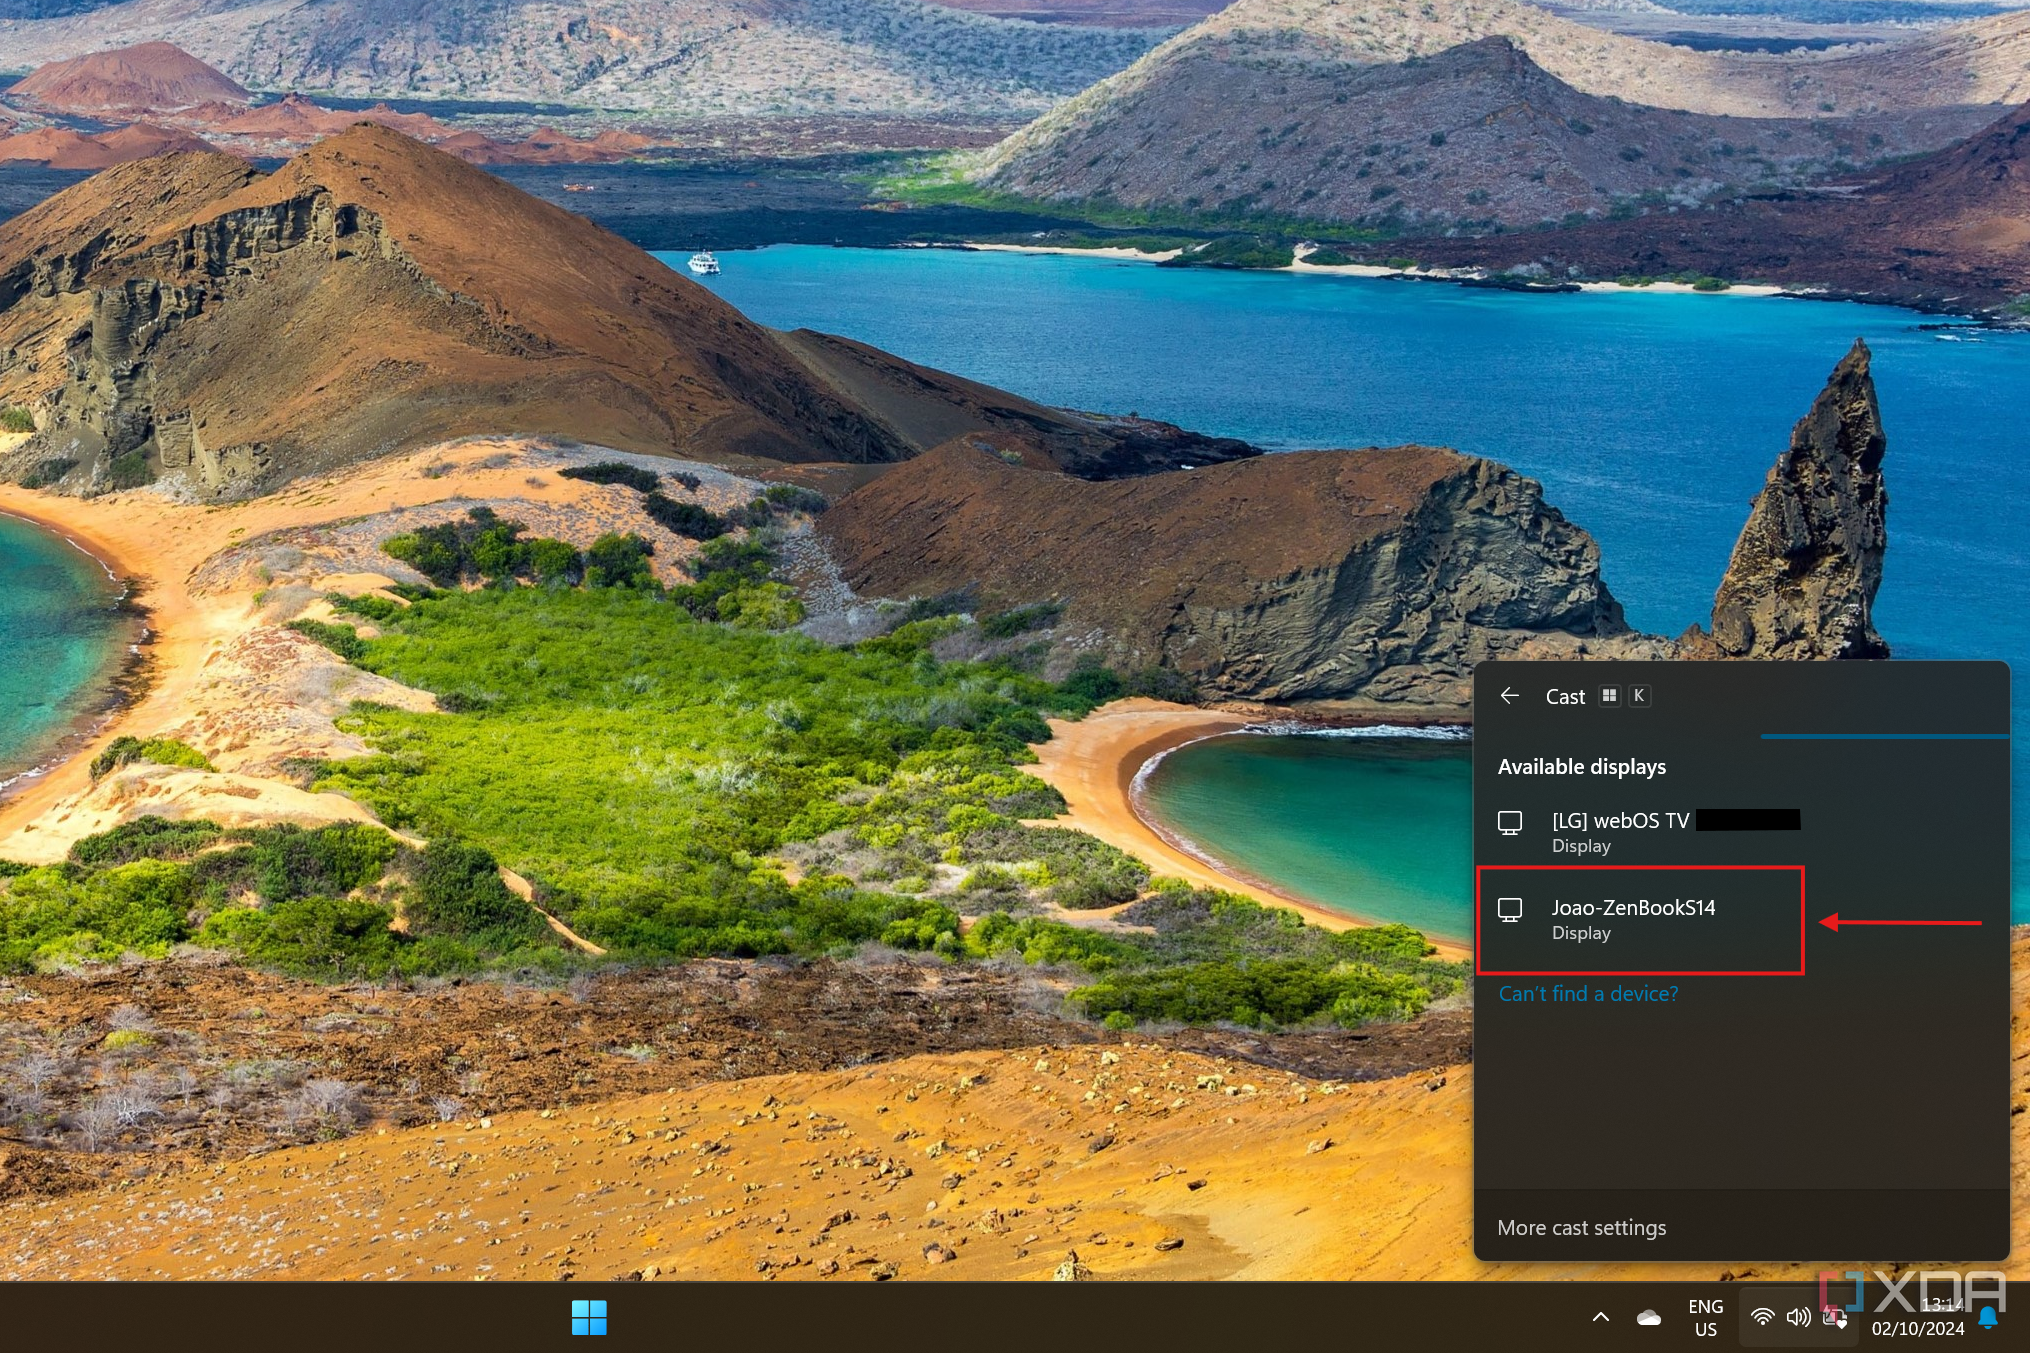
- Select your laptop's name from the list of options.
- Once the connection is established, you'll see your screen on your laptop.
- If you want to extend your screen, choose the Extend option in the connection flyout on your main PC (Windows defaults to the Duplicate option).
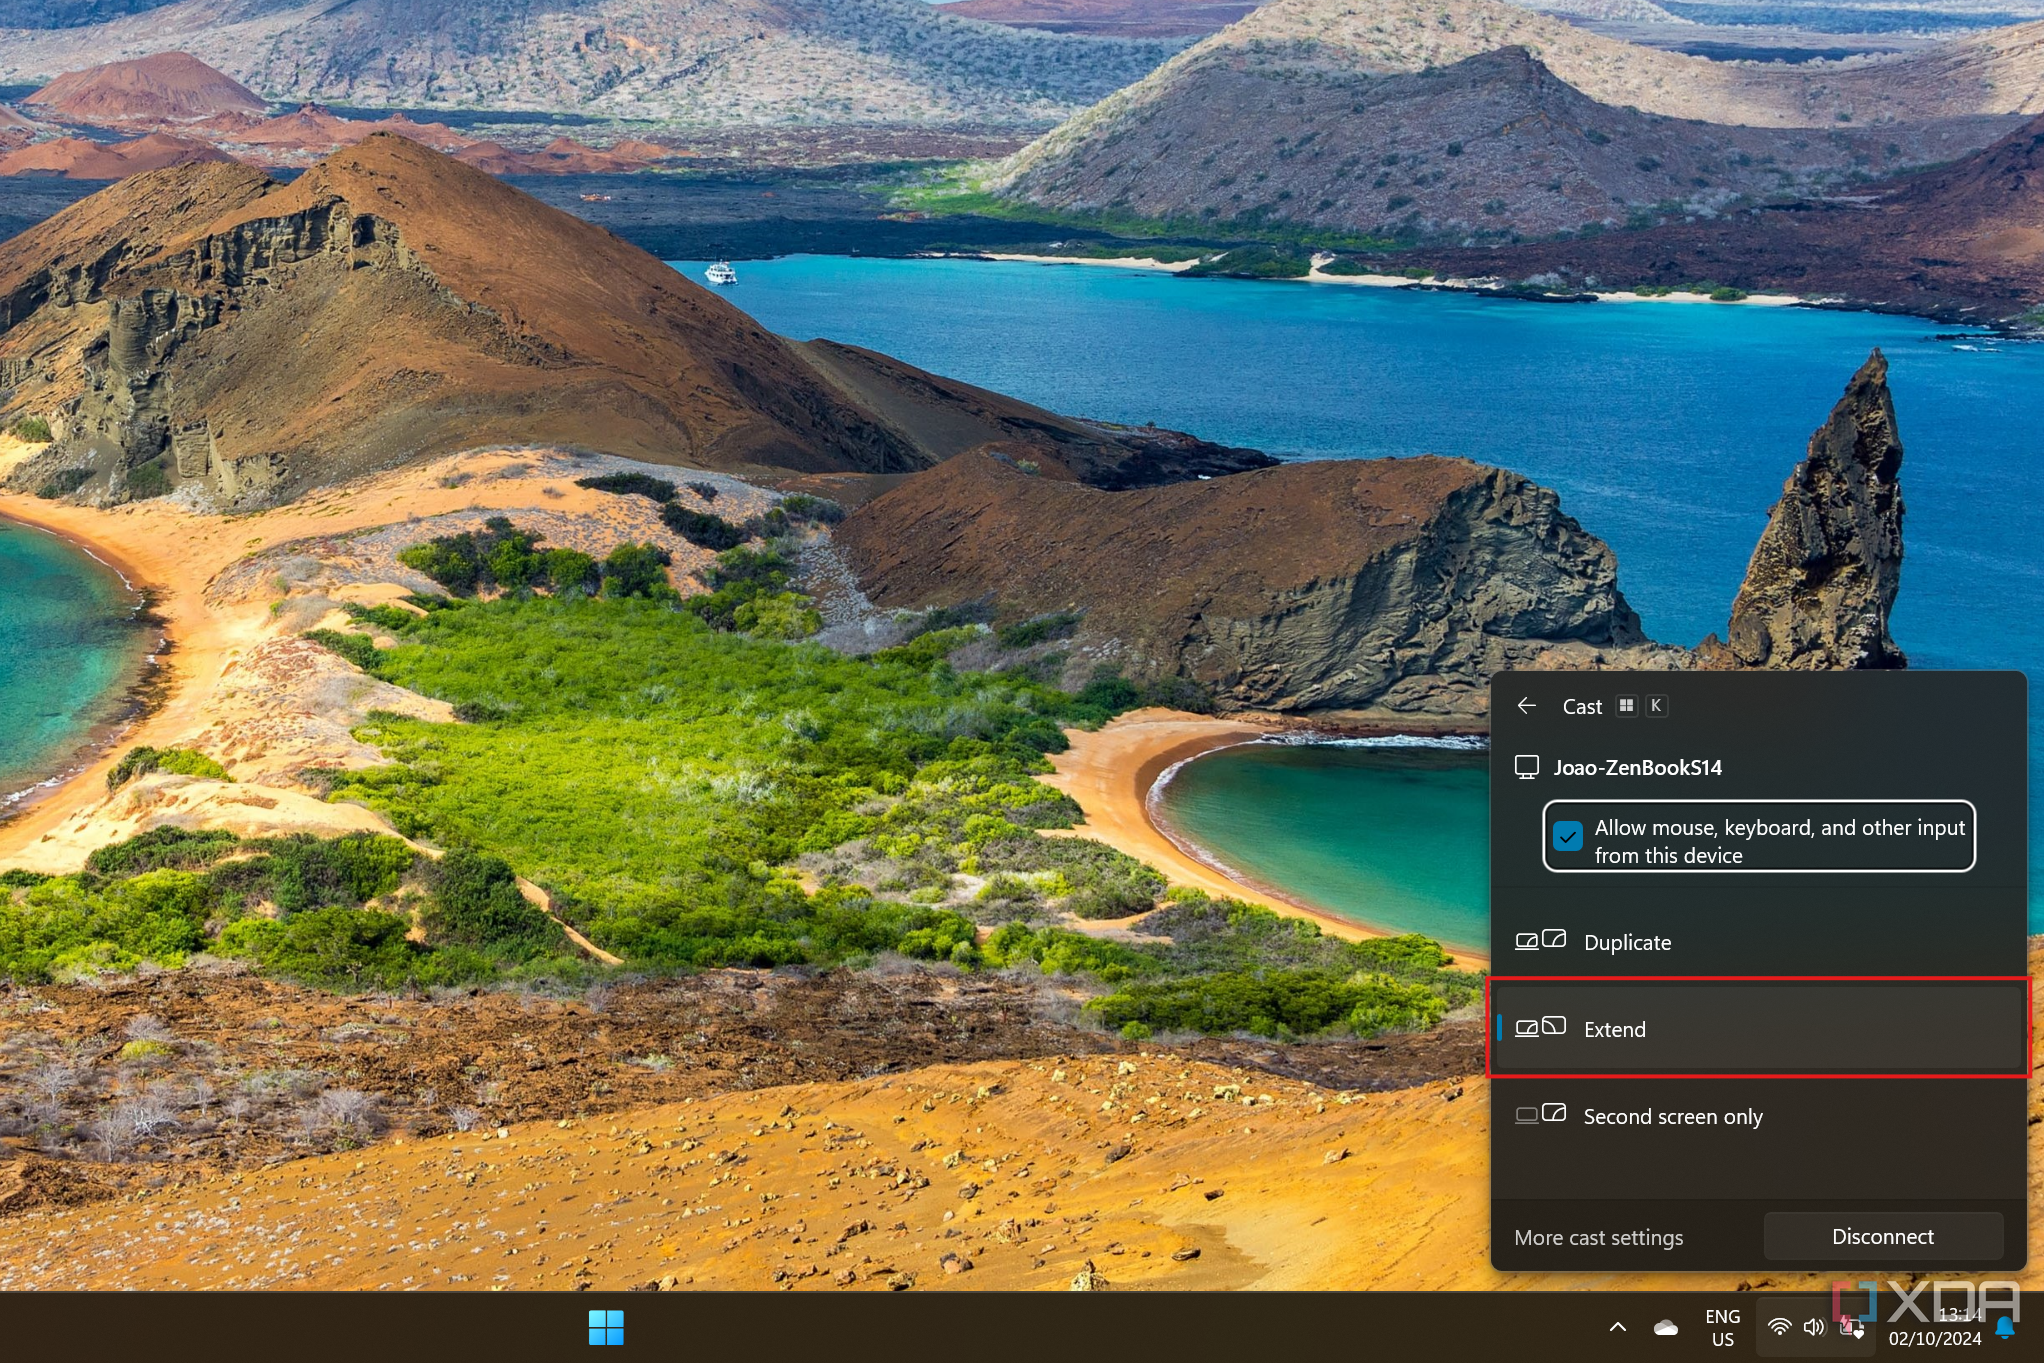
In the connection flyout, you can also check the box to Allow mouse, keyboard, and other input from this device, if you'd like to be able to interact with your main PC using the secondary laptop.
That's all you need to do to use your laptop as a wireless display for your main PC. It's a fairly straightforward process, though we should mention that wireless connections like this can sometimes be unstable, so you may experience some visual glitches and delays this way.
Make projection easier
If you don't want to have to open the Wireless Display app every time, you can change the projection settings on your laptop to make it more easily discoverable. To do this:
- Open the Settings app.
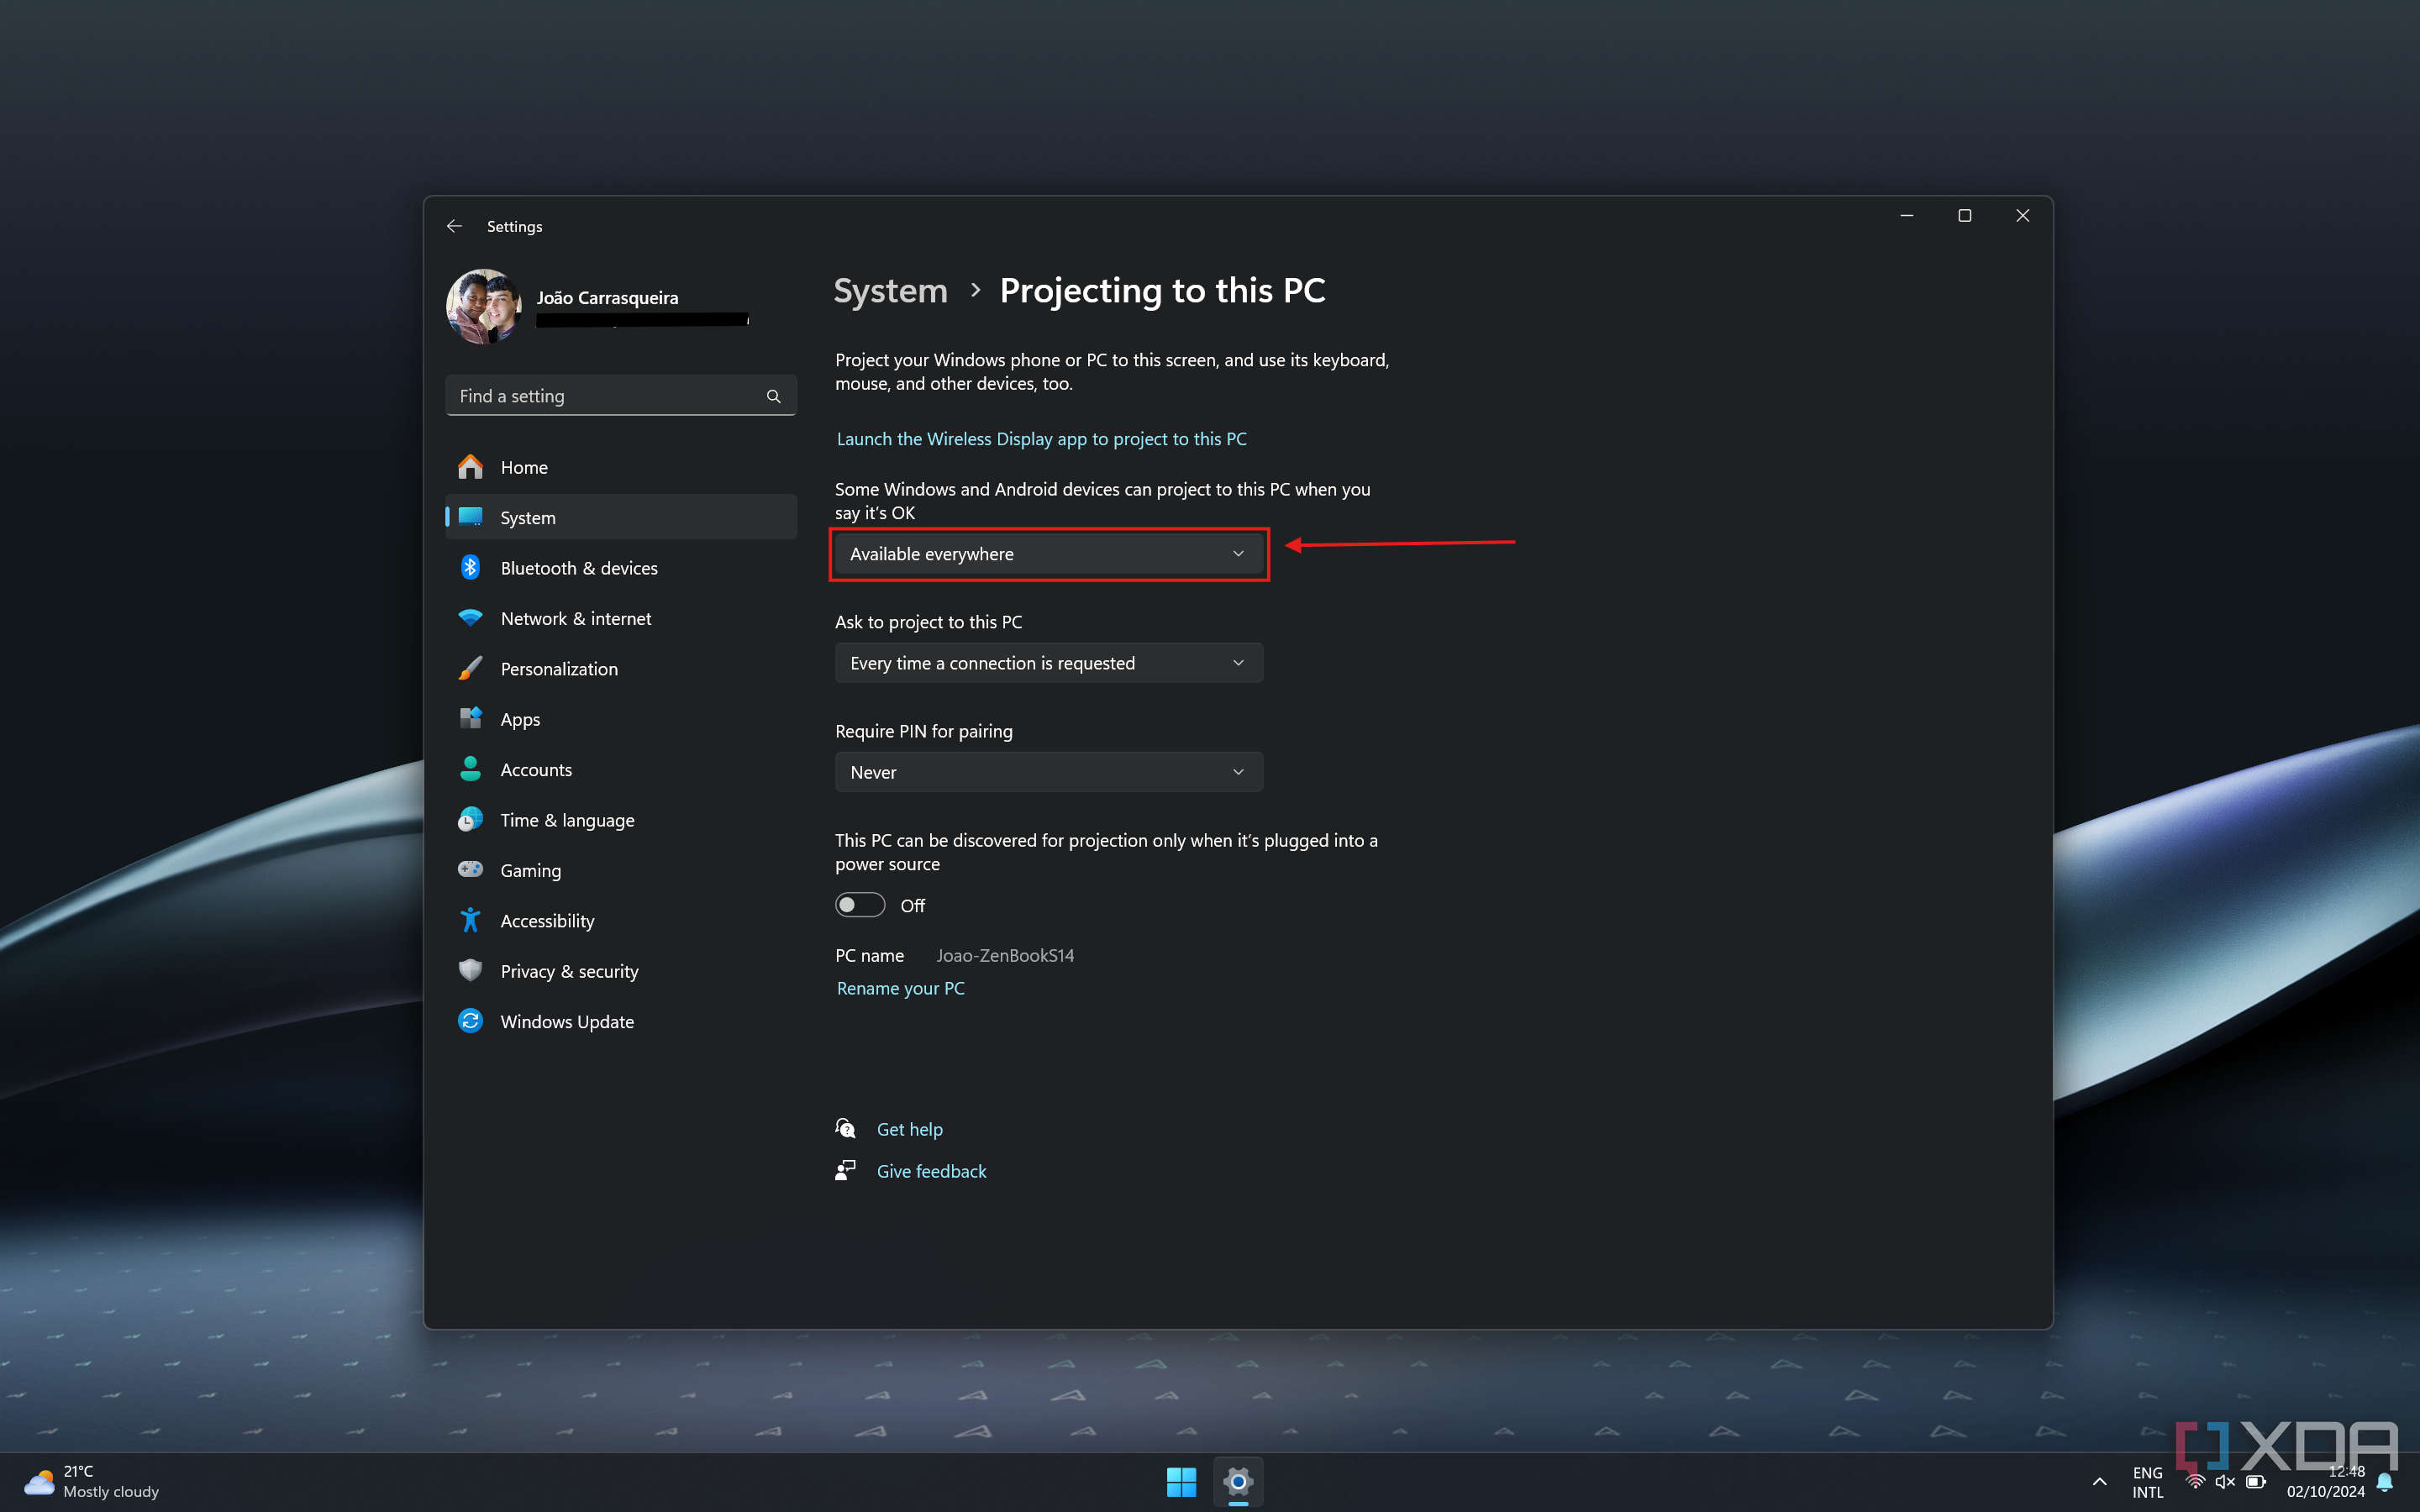
- Go to System and then choose Projecting to this PC.
- Use the dropdown menu under Some Windows and Android devices can project to this PC when you say it's OK and choose either Available everywhere or Available everywhere on secure networks.
Beware that this may enable other people to connect to your PC to use as a wireless display, though you still have to accept connection requests.
- If your laptop isn't connected to power when you do this, you may also want to disable the option labeled This PC can be discovered only when it's plugged into a power source. This will allow it to be detected even when it's on battery power.
Use a MacBook as a wireless display
If you're a Mac user and you also happen to have two Mac devices, you can also use one of them as a wireless display thanks to AirPlay Display. For this to work, you'll need both devices to be connected to the same network and logged in with the same Apple ID. With that established, simply follow these steps:
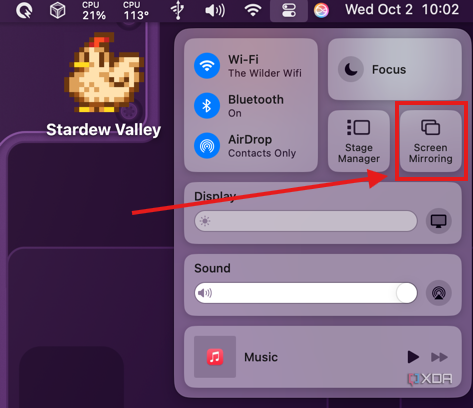
- On your main Mac, open the Control Center from the menu bar at the top of the screen.
- Choose Screen Mirroring.
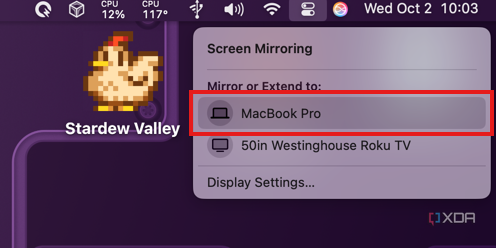
- Your MacBook or secondary Mac should appear as an option to connect to. Click it.
Alternatively, you can add a laptop as an external display by going to the Apple menu and then choosing Displays. From there, click Add Display, and your secondary Mac should show up just as with the steps above.
Improve your productivity in a pinch
Having more screens is a great way to stay more productive, but we don't all have a second monitor at hand, so using a laptop as a makeshift solution is a totally valid solution. With these steps, you can easily get started and expand your workspace.


0 Comments