How To Run Your Raspberry Pi Using Solar Power
The great thing about Raspberry Pis, compared to Arduinos, is that you don't have to scour Amazon or your local electronics shop for a high-quality power supply to drive your board. Raspberry Pi offers official power supplies that you can easily buy alongside your single-board computer (SBC) of choice. However, not every Raspberry Pi project is created equal, and while the official power supply is the most convenient power source for your board, it isn't always the most appropriate one. Sometimes, you need to resort to alternatives, particularly solar panels, for a couple of reasons.
The first and most common one is that your project will be stationed in the wild, away from any power outlets. This is typically the case for wildlife and environment monitoring applications, DIY devices you bring on camping trips (e.g., time lapse camera, portable media center), and even interactive information kiosks in parks. You might also want to use solar panels even when you're in a place with wall sockets but has unreliable power supply, such as remote and developing locations. But how exactly do you power a Raspberry Pi with a solar panel and what do you need to get started?
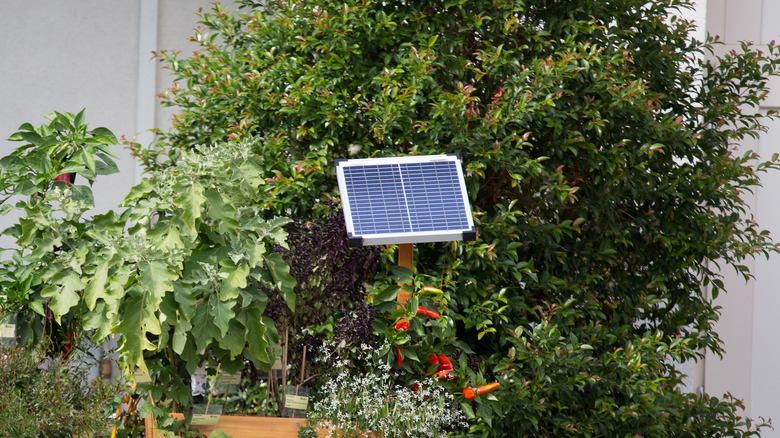
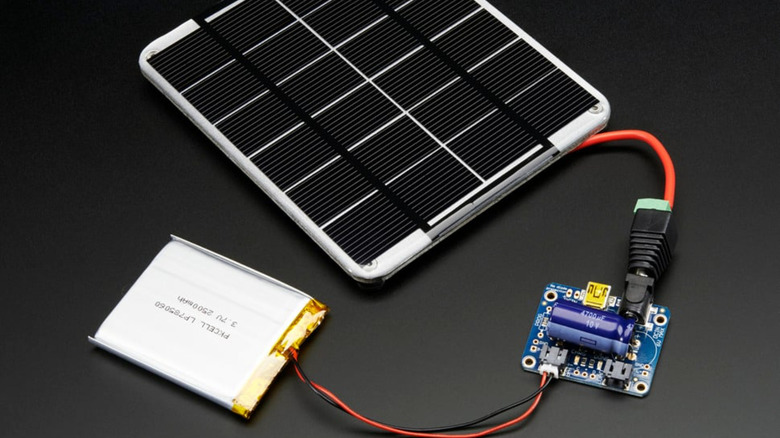
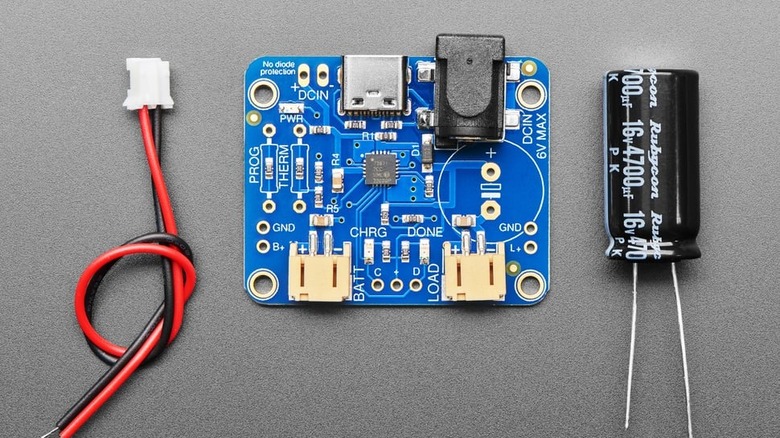
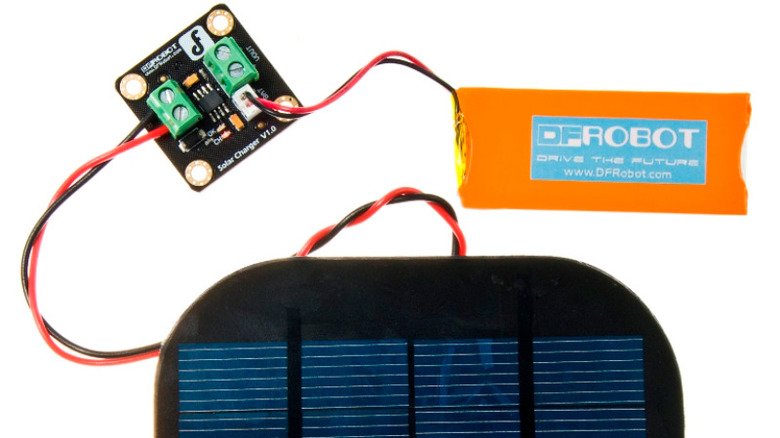
Powering your outdoor Raspberry Pi projects with the sun requires four components. As you might have already guessed, the first hardware you need is a solar panel. On maker sites like Adafruit and DFRobot, the typical solar panels for DIY electronic projects range from ratings of 5V to 9V and 1W to 10W. Make sure to pick one that's compatible with the second component, the solar charger module. What this does is regulate the solar panel's output to prevent overcharging the batteries. You can easily find a host of solar charger modules, such as SparkFun Sunny Buddy, Adafruit Universal Solar Charger, and DFRobot Solar Lipo Charger, on your favorite maker site or on Amazon.
For your third component, you need a battery. This is what powers the Pi. During the day, the panels charge the battery via the solar charger module to ensure your project has enough juice. Solar-powered electronics projects typically use Li-Po or Li-ion batteries, which have a nominal voltage of 3.7V. However, a Pi requires 5V to boot up. So, a DC-DC boost converter is added to the circuit. It's designed to output a higher DC voltage for your load. There are lots of boost converters available on the market, including the Adafruit PowerBoost 1000, DFRobot DC-DC Boost Module, and SparkFun LiPower Boost Converter. Just make sure the converter you buy is compatible with Li-ion/Li-Po batteries and can output enough current to drive your project.
Now it's time for some building. Here's a quick step-by-step guide on making a solar panel system for your Raspberry Pi project:
- Connect the solar panel to the solar charger module. This is typically labeled PWR IN or SOLAR, but in some modules, the input port for the solar panel is an unlabeled DC barrel.
- If your panel comes with exposed wires and your module has an input port, you need to solder the corresponding connector to the panel. However, make sure not to reverse the polarity — red wire to the connector's positive and black wire to the negative. Alternatively, if your module has a screw-in terminal instead, expose the ends of the panel's wire and screw them to the terminal. Secure the wires tightly, or else you'd have a loose connection that won't properly charge the battery.
- Plug the battery to the side of the solar charger module with a BATT label. Many modules have JST terminals, making it easy to connect a Li-Po/Li-ion battery which also comes with JST connectors.
- Connect the DC-DC boost converter's input (usually an unlabeled JST terminal or a screw-in terminal with VIN label) to the LOAD/VOUT/SYS OUT side of the solar charger module. You may need to solder/screw the converter directly to the module or use a separate JST-to-JST wire to connect them.
- On the boost converter's output side, connect the Raspberry Pi using a USB wire (type depends on the board). You might have to solder or screw the wire to the converter.
What to do before setting up your project outdoors

Before you get your Raspberry Pi project and solar panel system set up in the sun, you may want to consider taking extra steps to prolong the life of your project. This doesn't only mean extending the runtime of the board but also keeping it safe from the elements.
Choosing less resource-draining components and Pi boards for your solar-powered project is just the first step to achieving a long runtime period. There are also software techniques you can use to lower the power consumption and further lengthen the Pi's operation. First, turn off any onboard peripherals your project doesn't need. This includes the HDMI (if you're not using any display) and the activity and power LEDs (which you probably don't need to look at). On the Pi Zero, disabling both can save you as much as 35mA as tested by Pi enthusiast Jeff Geerling. If you have a Wi-Fi-enabled board, such as the Pi Zero W and Pi Zero 2 W, you can also consider deactivating the Wi-Fi radio, which, according to Geerling, can save you about 10mA.
To make the Pi weather-proof, enclose the project in a weather-proof case. Typical ones you can see online are IP65, meaning they're protected from dust and low-pressure jets. Make sure that your project's placement is also taken into account. Keep your electronics away from the sun as much as possible so as not to go over the Pi board's operating temperature (usually a maximum of 50 degree Celsius).


0 Comments