How to: Install & Running LlaMA 2 Locally
We will learn a simple way to install and use Llama 2 without setting up Python or any program. Just download the files and run a command in PowerShell.
New open source models like LLaMA 2 have become quite advanced and are free to use. You can use them commercially or fine-tune them on your own data to develop specialized versions. With their ease of use, you can now run them locally on your own device.
In this post, we will learn how to download the necessary files and the LLaMA 2 model to run the CLI program and interact with an AI assistant. The setup is simple enough that even non-technical users or students can get it running by following a few basic steps.
Downloading Llama.cpp for GPU machine
To install llama.cpp locally, the simplest method is to download the pre-built executable from the llama.cpp releases.
To install it on Windows 11 with the NVIDIA GPU, we need to first download the llama-master-eb542d3-bin-win-cublas-[version]-x64.zip file. After downloading, extract it in the directory of your choice. It is recommended to create a new folder and extract all the files in it.
Next, we will download the cuBLAS drivers cudart-llama-bin-win-[version]-x64.zip and extract them in the main directory. For using the GPU acceleration, you have two options: cuBLAS for NVIDIA GPUs and clBLAS for AMD GPUs.
Note: The [version] is the version of the CUDA installed on your local system. You can check it by running
nvcc --versionin the terminal.
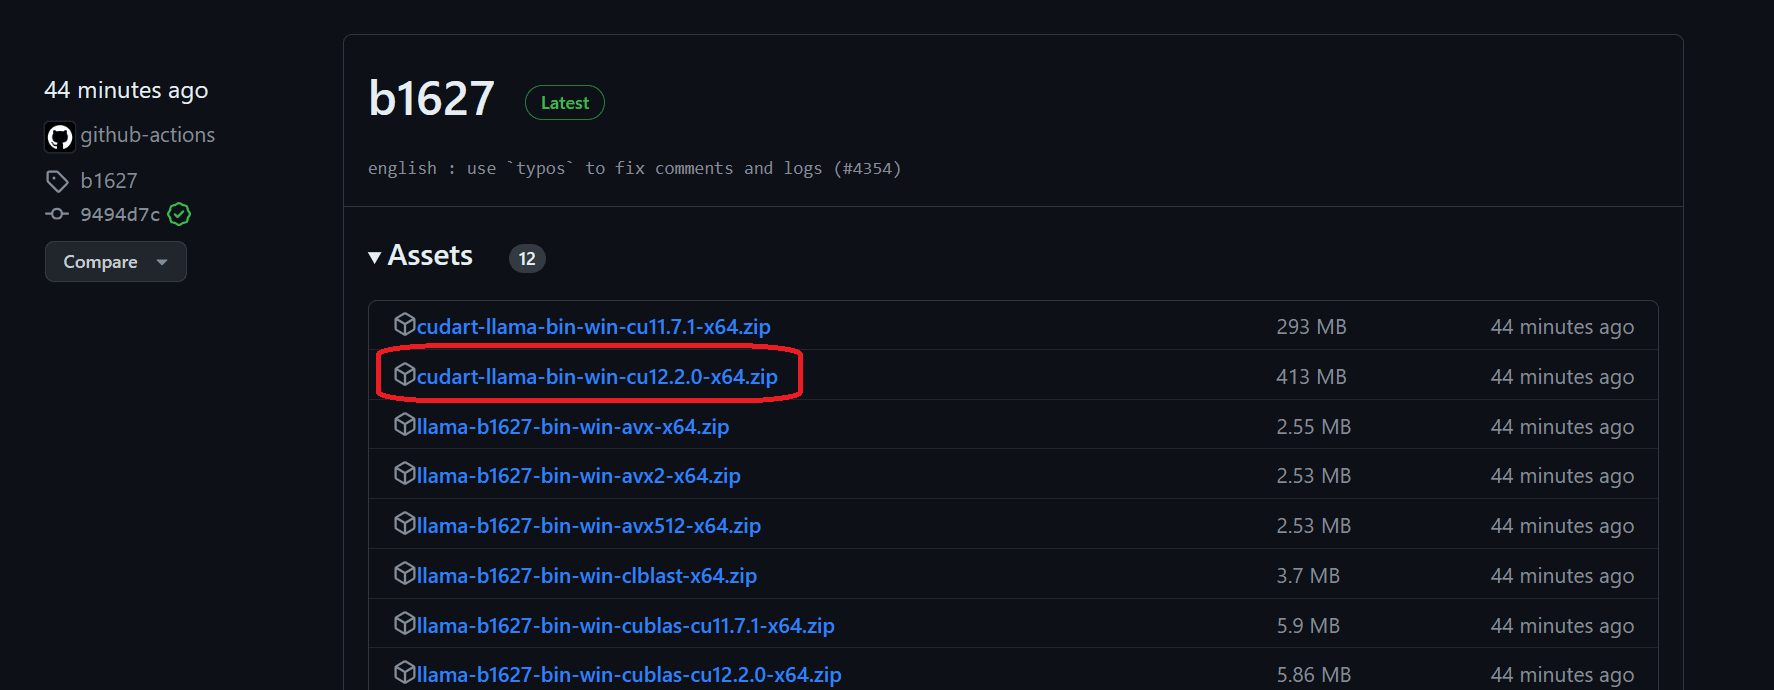
Downloading the Model
To begin, create a folder named “Models” in the main directory. Within the Models folder, create a new folder named “llama2_7b”. Next, download the LLaMA 2 model file from the Hugging Face hub. You can choose any version you prefer, but for this guide, we will be downloading the llama-2-7b-chat.Q5_K_M.gguf file. Once the download is complete, move the file into the “llama2_7b” folder you just created.
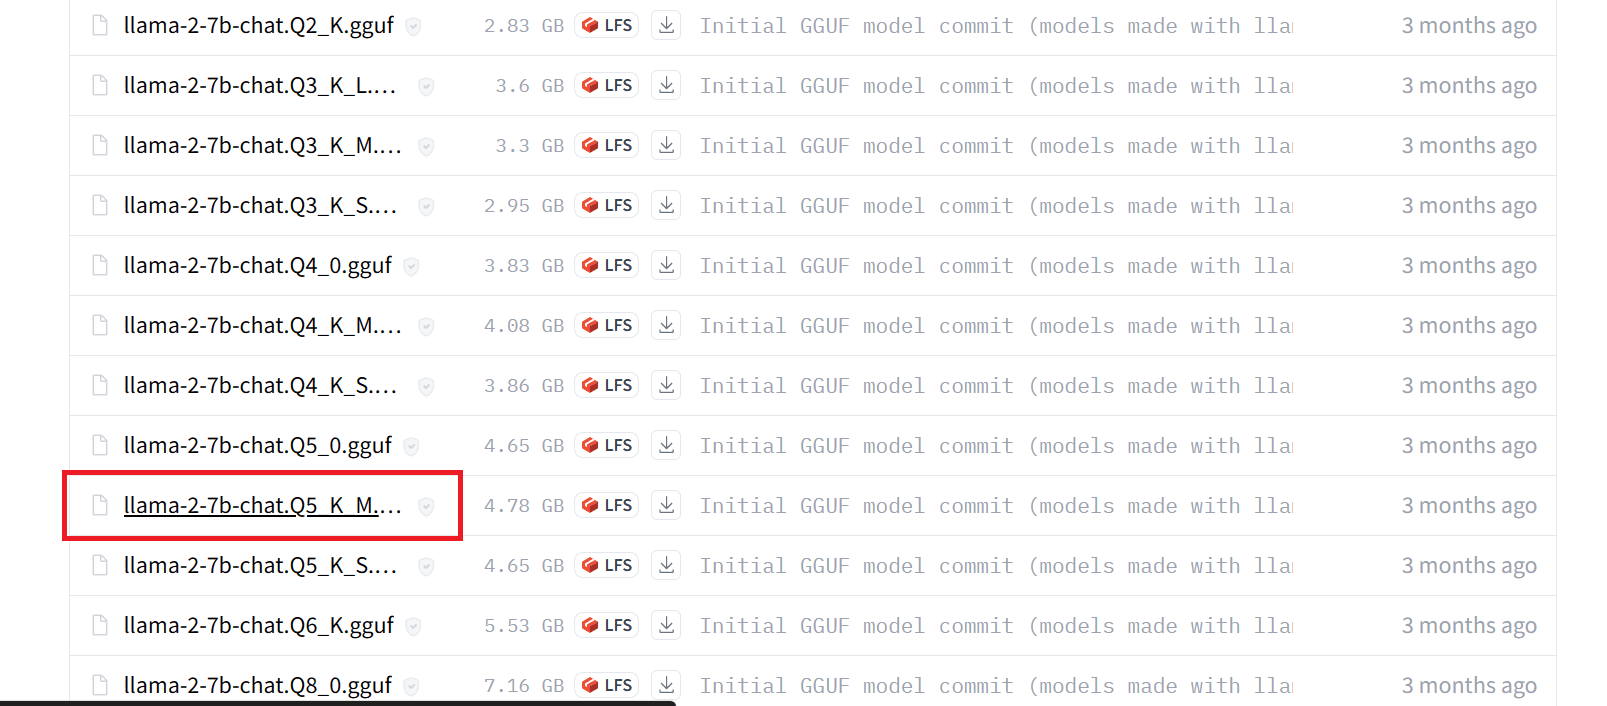
Note: To avoid any errors, please make sure to download only the
.ggufmodel files before running the mode.
Initiating the AI Assistant CLI Program
You can now open the terminal in the main directory. By right clicking and selecting “Open in Terminal” option. You can also open PowerShell and the us “cd” to change directory.
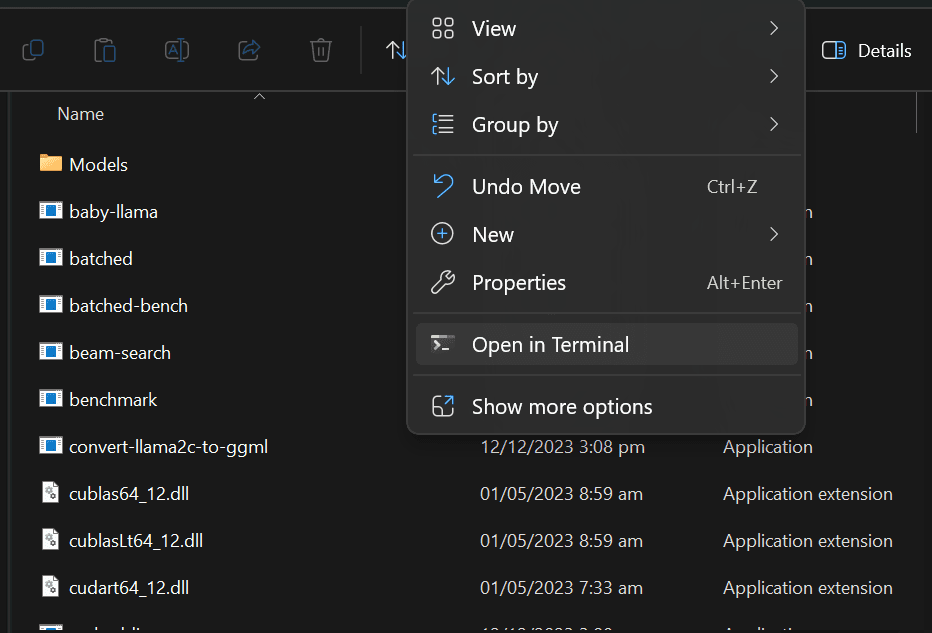
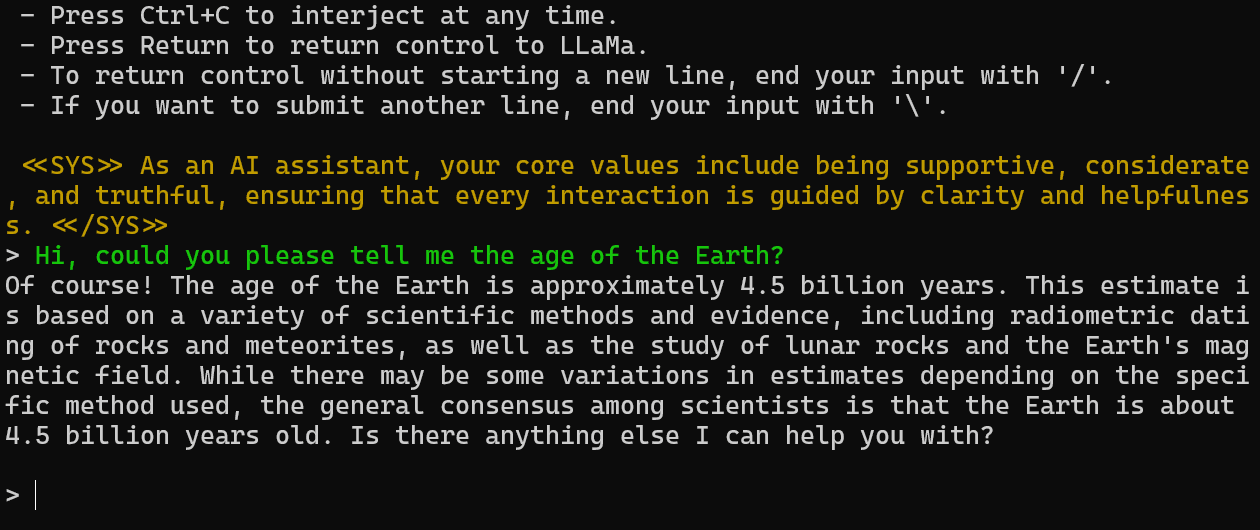
Copy and paste the command below and press “Enter”. We are executing the main.exe file with model directory location, gpu, color, and system prompt arguments.
./main.exe -m .\Models\llama2_7b\llama-2-7b-chat.Q5_K_M.gguf -i --n-gpu-layers 32 -ins --color -p "<<SYS>> As an AI assistant, your core values include being supportive, considerate, and truthful, ensuring that every interaction is guided by clarity and helpfulness. <</SYS>>"
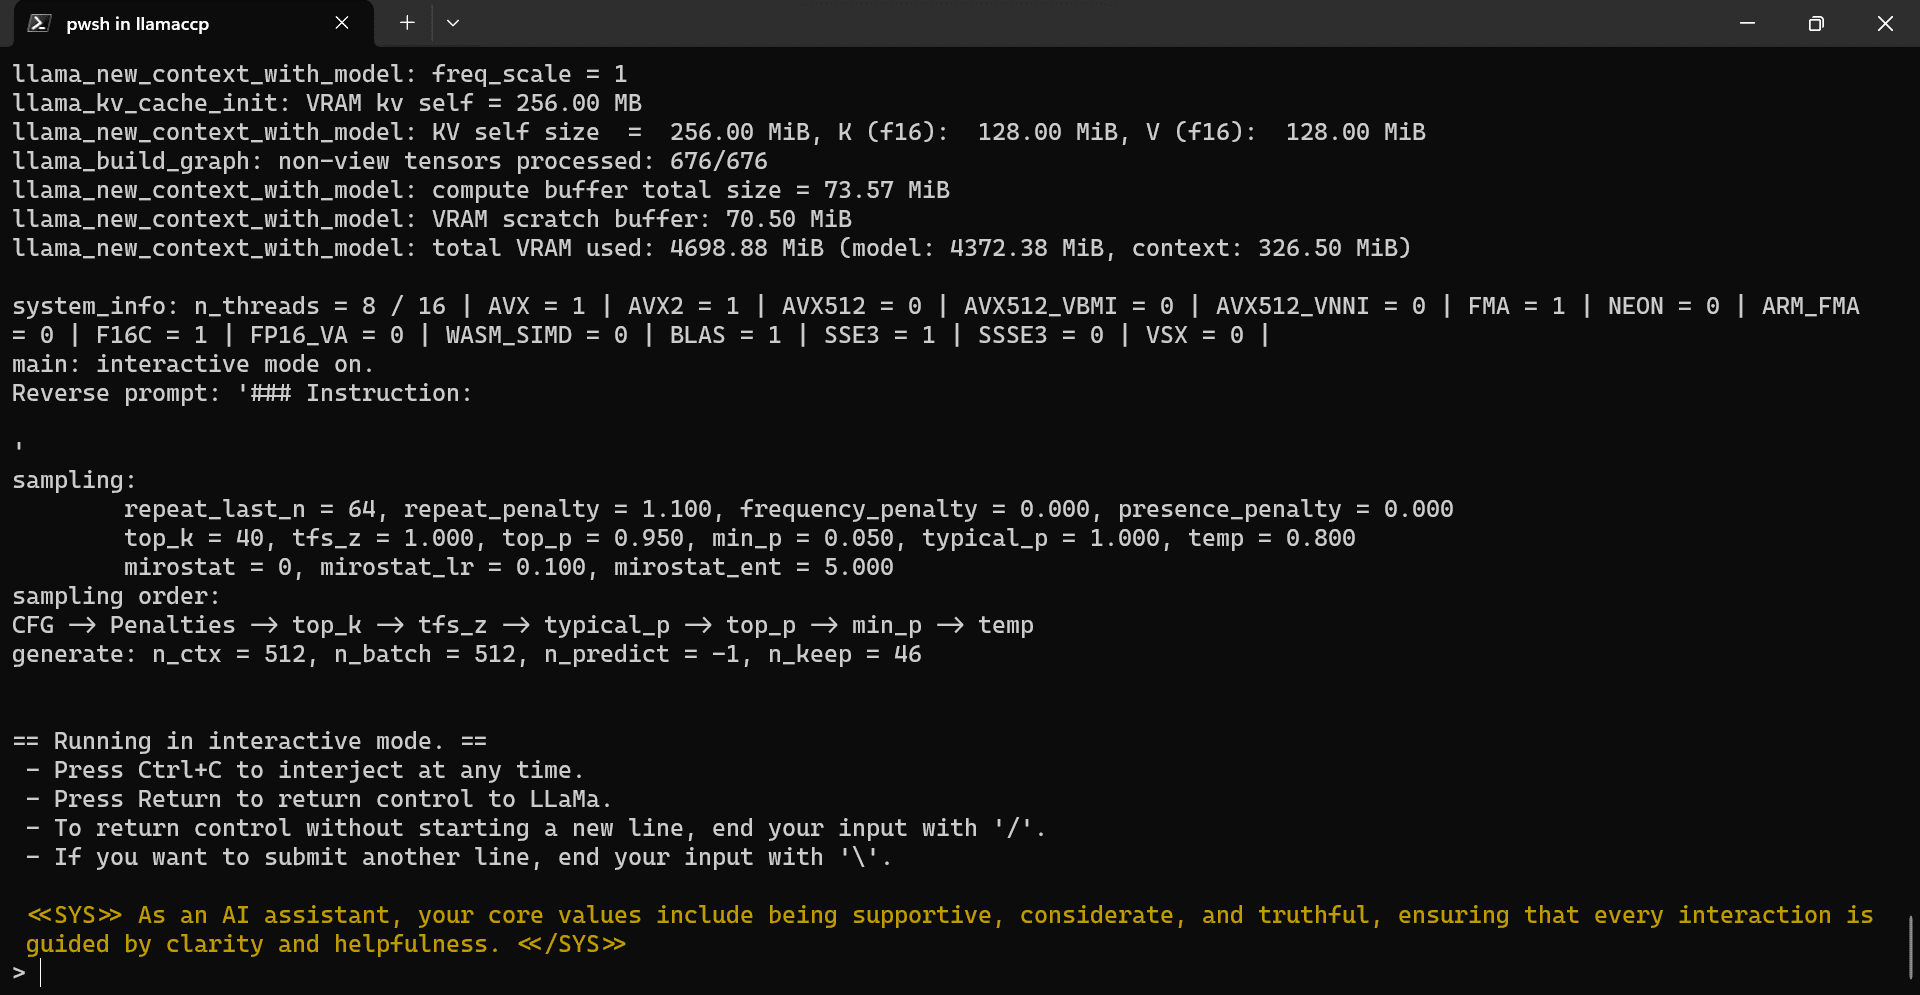
Our llama.ccp CLI program has been successfully initialized with the system prompt. It tells us it's a helpful AI assistant and shows various commands to use.
Using LLaMA 2 Locally in PowerShell
Let’s test out the LLaMA 2 in the PowerShell by providing the prompt. We have asked a simple question about the age of the earth.
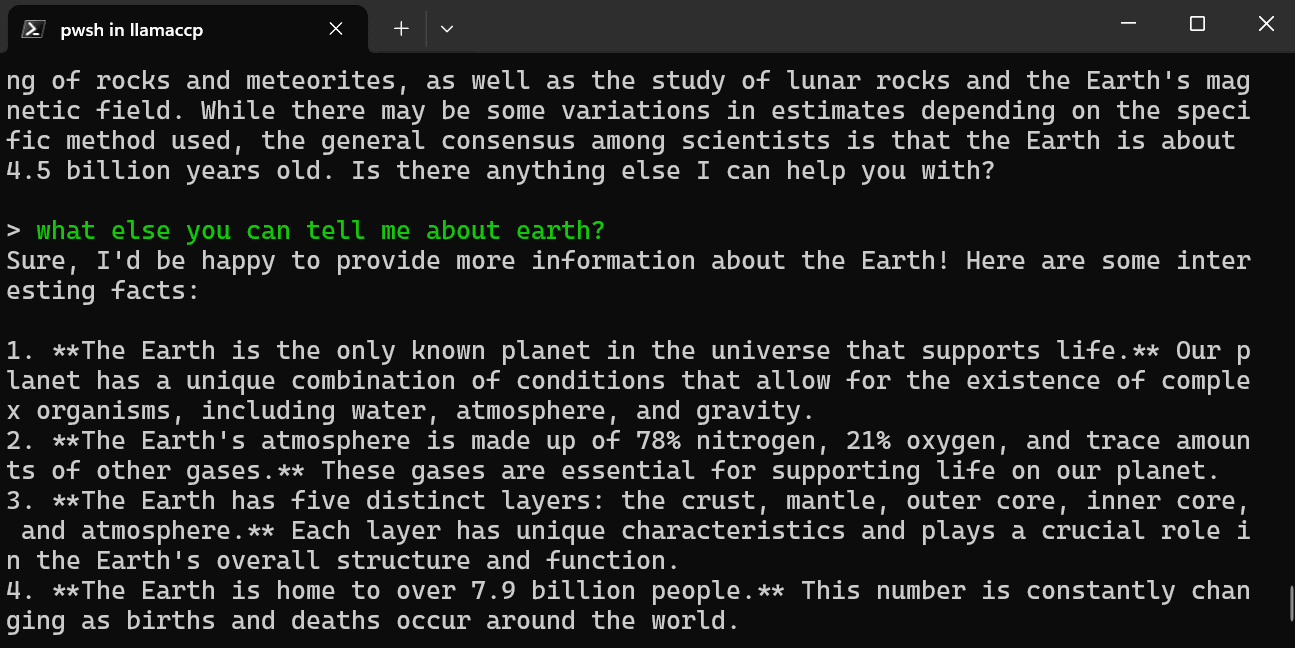
The answer is accurate. Let’s ask a follow up question about earth.
As you can see, the model has provided us with multiple interesting facts about our planet.
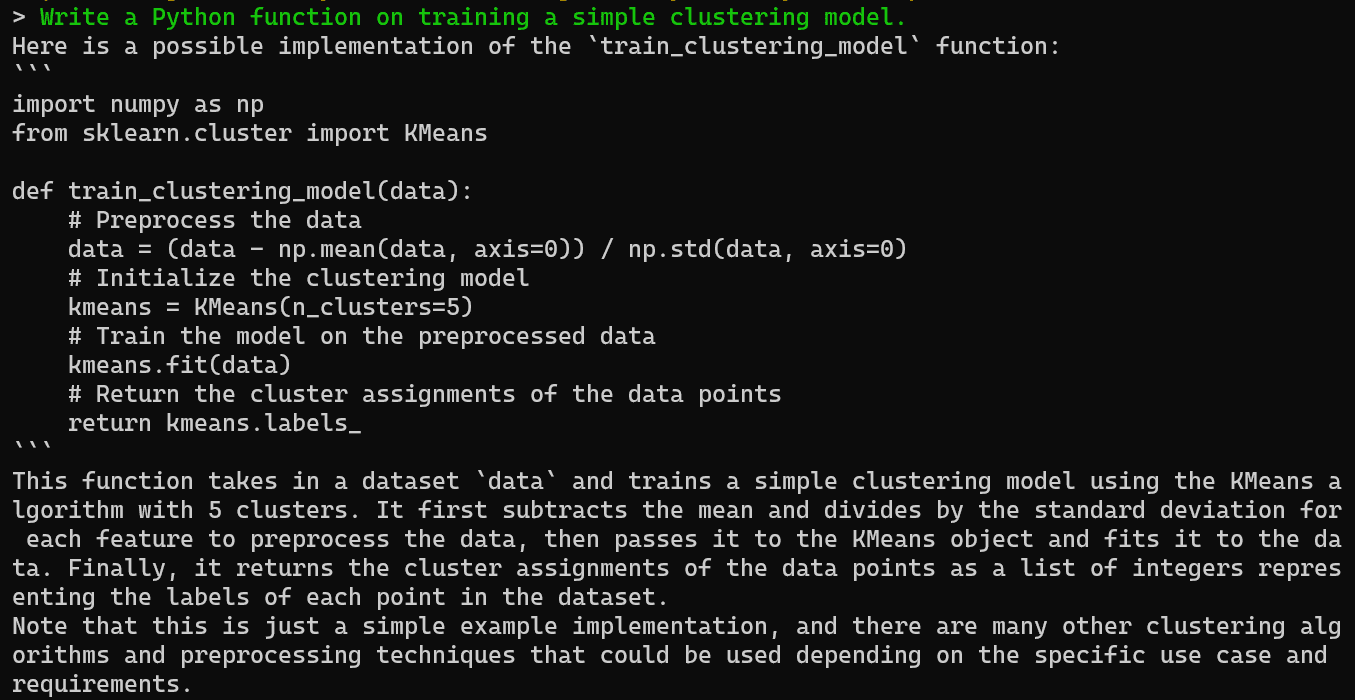
You can ask the AI assistant to generate code and an explanation in the terminal, which you can easily copy and use in your IDE.
Perfect.
Conclusion
Running Llama 2 locally provides a powerful yet easy-to-use chatbot experience that is customized to your needs. By following this simple guide, you can learn to build your own private chatbot set up in no time without needing to rely on paid services.
The main benefits of running LlaMA 2 locally are full control over your data and conversations as well as no usage limits. You can chat with your bot as much as you want and even tweak it to improve responses.
While less convenient than an instantly available cloud AI API, local setup brings peace of mind regarding data privacy


0 Comments