
How you can use your Raspberry Pi as a password manager for all your devices
Using a password manager is one of the big steps you can take to improve your personal security. By making it easy to avoid reusing passwords across websites, password managers dramatically reduce the risk of cascading compromise of your accounts via a leaked and reused password. They're also great for convenience, allowing you to autofill your passwords and sync them between devices effortlessly.
Syncing your passwords in the cloud is perfectly safe - there's some clever cryptography at work to ensure that only you can decrypt your password vault. Today we'll be deploying Vaultwarden, an open-source, self-hosted alternative to Bitwarden. We'll cover it in more depth later, but Vaultwarden is essentially a performance-oriented rewrite of the existing Bitwarden server instance.
This is a great place to make your passwords accessible across your network, and might be a great option for internal-only passwords like those for your home lab, NAS, or media server. There are some serious security concerns we'll cover as well, but first, here's how to get your Vaultwarden server running on a Raspberry Pi. We'll be using Docker, so these instructions will likely work fine on most devices running Docker.
Should you install Vaultwarden on your Raspberry Pi?
There are security concerns to consider when installing Vaultwarden on your network

Before we cover how to install Vaultwarden on your Raspberry Pi, there are some serious security concerns you should be aware of. By self-hosting a program like this, you take responsibility for the security of your instance. This includes things like regular updates, hardening the machine it's running on against attacks, and ensuring generally good security practices. If you're not an expert, we wouldn't recommend exposing your Bitwarden-instance to the internet. Your devices should still sync, but only when you are in your house. Outside the house, keep in mind that a local copy of your passwords will still be available on your devices.
Bitwarden has long supported hosting your own instance, but this provides no guarantees on security. Also, while Vaultwarden is a reputable project, there are security concerns about running a third party alternative to the FOSS Bitwarden version.
You may have previously known Vaultwarden as Bitwarden_rs. The name was changed to avoid any potential trademark or branding issues.
What is Vaultwarden?
Vaultwarden is an open source recreation of the original Bitwarden server in Rust, a low-level but memory safe programming language known for its performance.
How to install Vaultwarden server on your Raspberry Pi
Docker makes installing Vaultwarden easy

There are some prerequisites for this process. Vaultwarden won't work without HTTPs (and you shouldn't use it without it), so you'll need to generate some HTTPs certificates for a domain you own, or generate some self-signed certs to pass into Vaultwarden. We wouldn't recommend using self-signed certificates in the long term, but it will work to get started with.
Prerequisites:
- A Raspberry Pi with a compatible OS (we've tested it on the Pi 3 with Raspbian)
- A set of SSL/HTTPs certificates, either for a domain or self-signed
As we mentioned earlier, we'll be using Docker to install Vaultwarden on your Raspberry Pi. Docker is a platform for containerization, which makes it easy to deploy software simply. This saves a lot of complex build steps. Follow the steps below to install Docker on your Pi. For this tutorial we'll be using Raspbian on a Raspberry Pi 3.
- Firstly, make sure your system is up to date with the two commands below.
sudo apt-get update sudo apt-get upgrade
The first line updates version information from your configured repositories, and the second installs any available OS updates. - Install required dependencies for the Docker Engine.
sudo apt-get install apt-transport-https ca-certificates curl software-properties-common - You can then install Docker's official GPG key with the command below. This allows your package manager to verify that downloads coming from the Docker repository are signed and verified.
curl -fsSL https: - Add the official Docker repository to your package managers sources.
echo "deb [arch=armhf] https://download.docker.com/linux/raspbian $(lsb_release -cs) stable" | sudo tee /etc/apt/sources.list.d/docker.list - Update your package database to ensure that all the latest packages are available.
sudo apt-get update - Install Docker via the apt package manager.
sudo apt-get install docker-ce - Verify that Docker is installed by testing out the Hello World container.
sudo docker run hello-world - We'll then want to enable Docker to run automatically on startup.
sudo systemctl enable docker
Once Docker is all installed and running, we can start setting up your password repo. We'll be using an unofficial but upstream image called Vaultwarden. This is a more lightweight, alternate implementation of the Bitwarden server rewritten in Rust. There is the option of using the official image, but we prefer this one due to its lightweight nature. There are security considerations to this however; this image is maintained by a third party.

First, begin the process by pulling the latest Vaultwarden Docker image, then proceed to the steps below.
sudo docker pull vaultwarden/server:latest
- For testing, I've used RocketSSL to get up and running, but in the medium term we'd recommend you set up a reverse proxy or similar with Nginx. However, for testing out Vaultwarden, the following will do. This mounts a Docker volume containing your SSL certificates with
-v ./:/ssl/, and then passes them to RocketSSL by setting some environment variables.sudo docker run -d --name vaultwarden -e ROCKET_TLS='{certs="/ssl/public.pem",key="/ssl/private.pem"}' -v ./:/ssl/ -v /vw-data/:/data/ -p 443:80 vaultwarden/server:latestThis will start Vaultwarden on port 443 (i.e. HTTPs), and store any data under /vw-data/ on the host machine. This command starts the container in detached mode, i.e. in the background. You can check the logs for Vaultwarden with: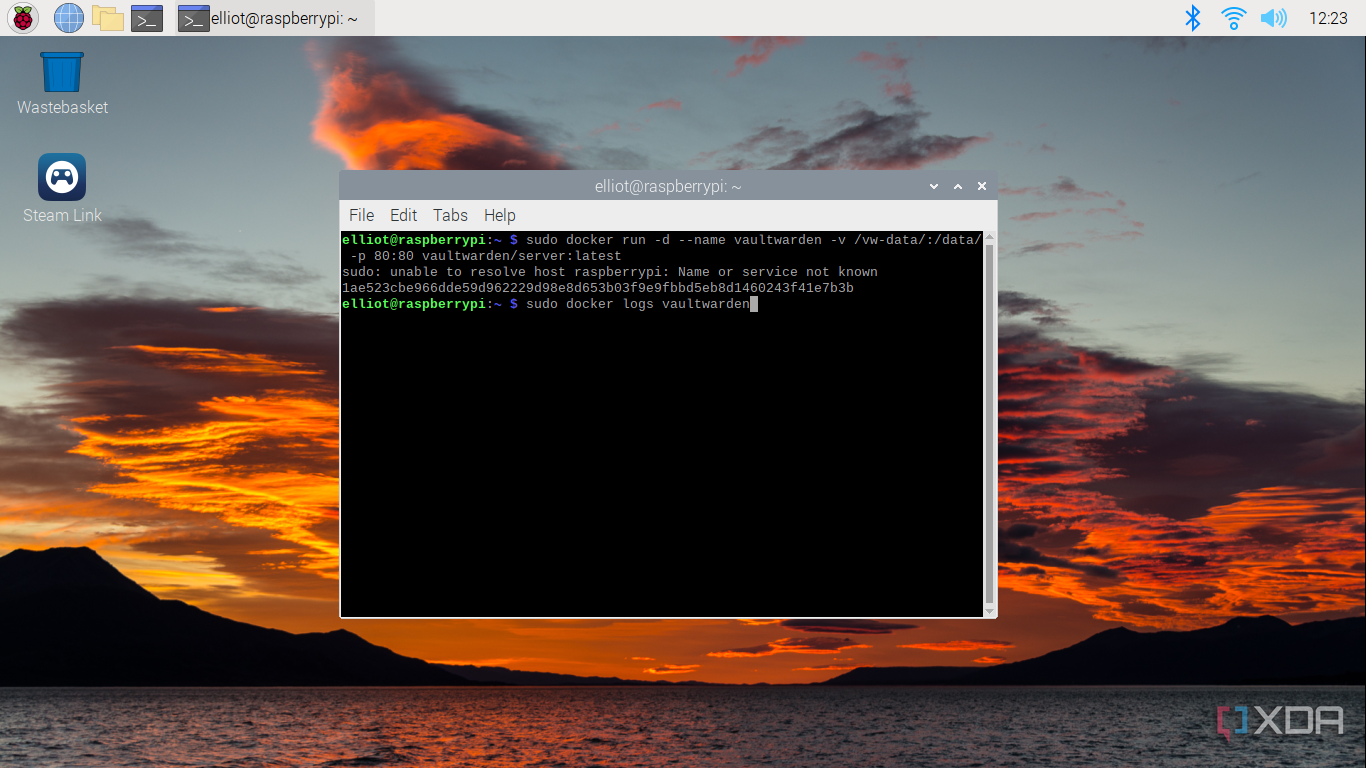
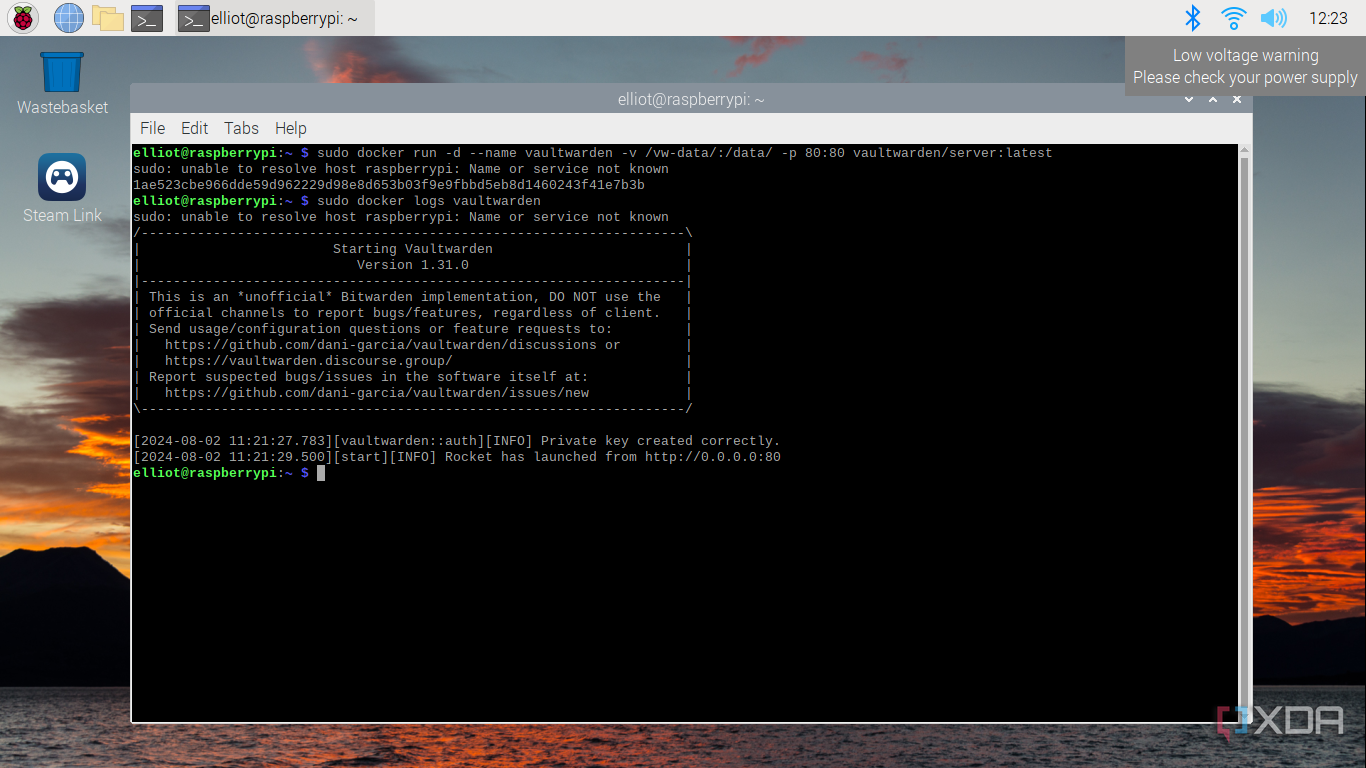
sudo docker logs vaultwarden
- You should now be able to connect to your Vaultwarden instance via your web browser. If you're unsure of your IP address, you can check it via command of course.
sudo ip addr
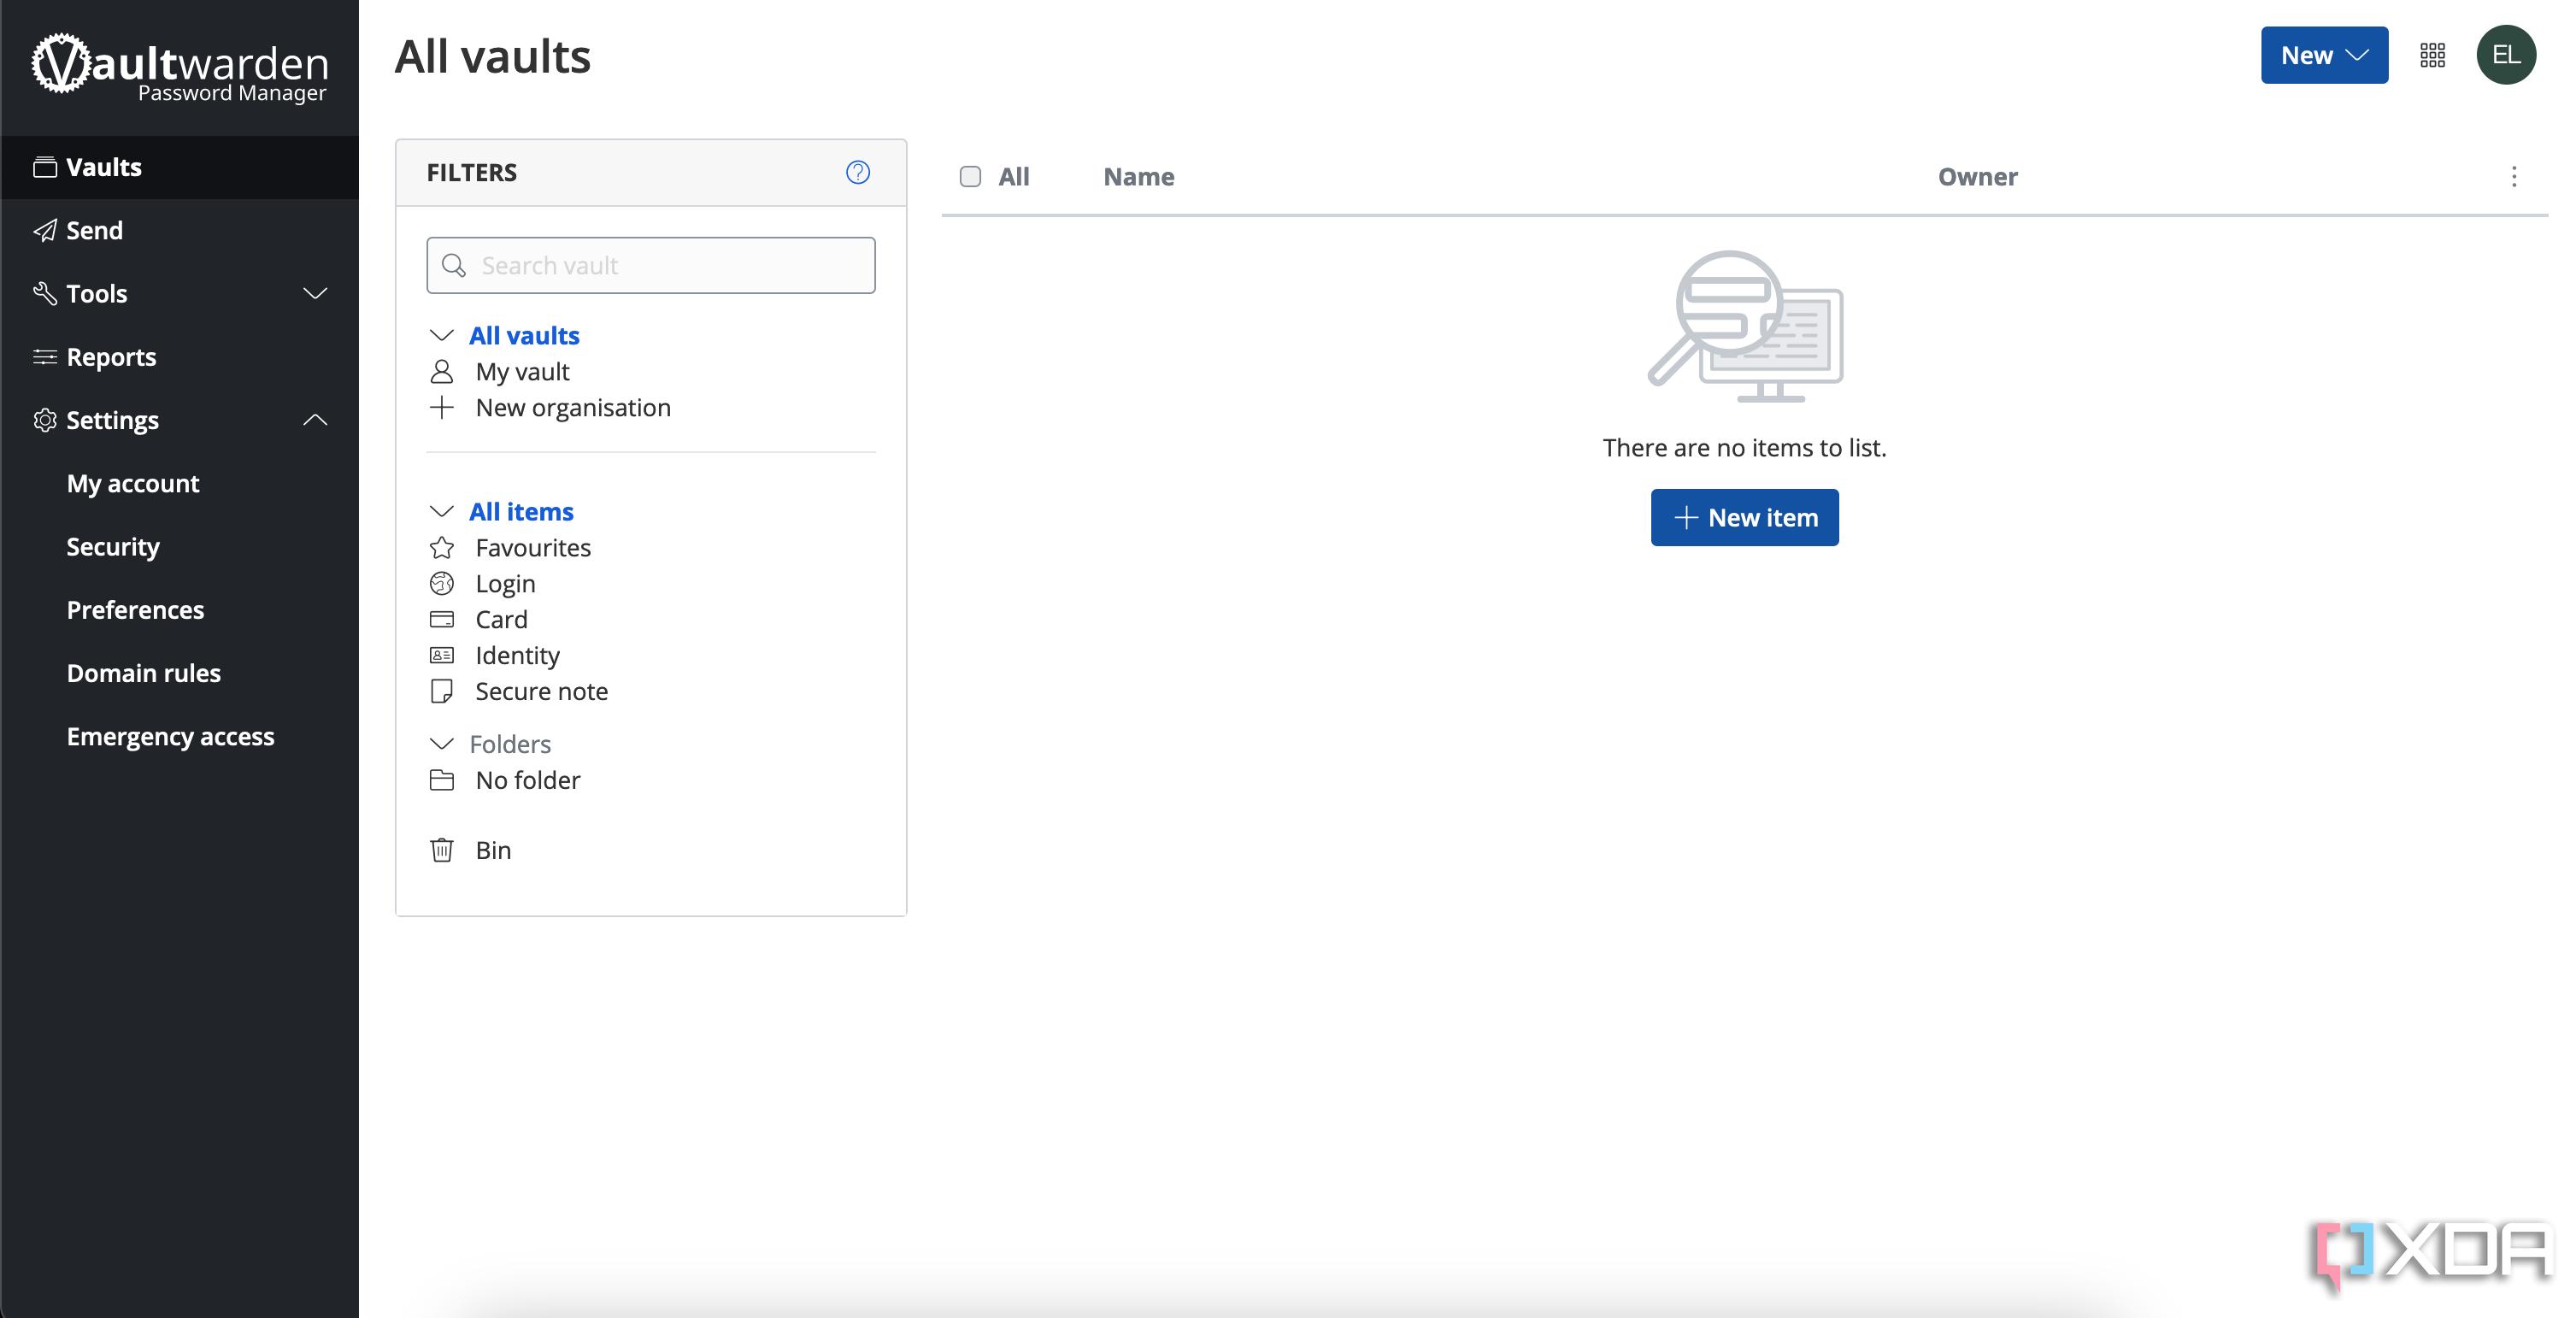
- The web interface should be accessible on your Raspberry Pi's IP address via HTTPs, for example: https://192.168.0.20.Enter your email and log in to your account.
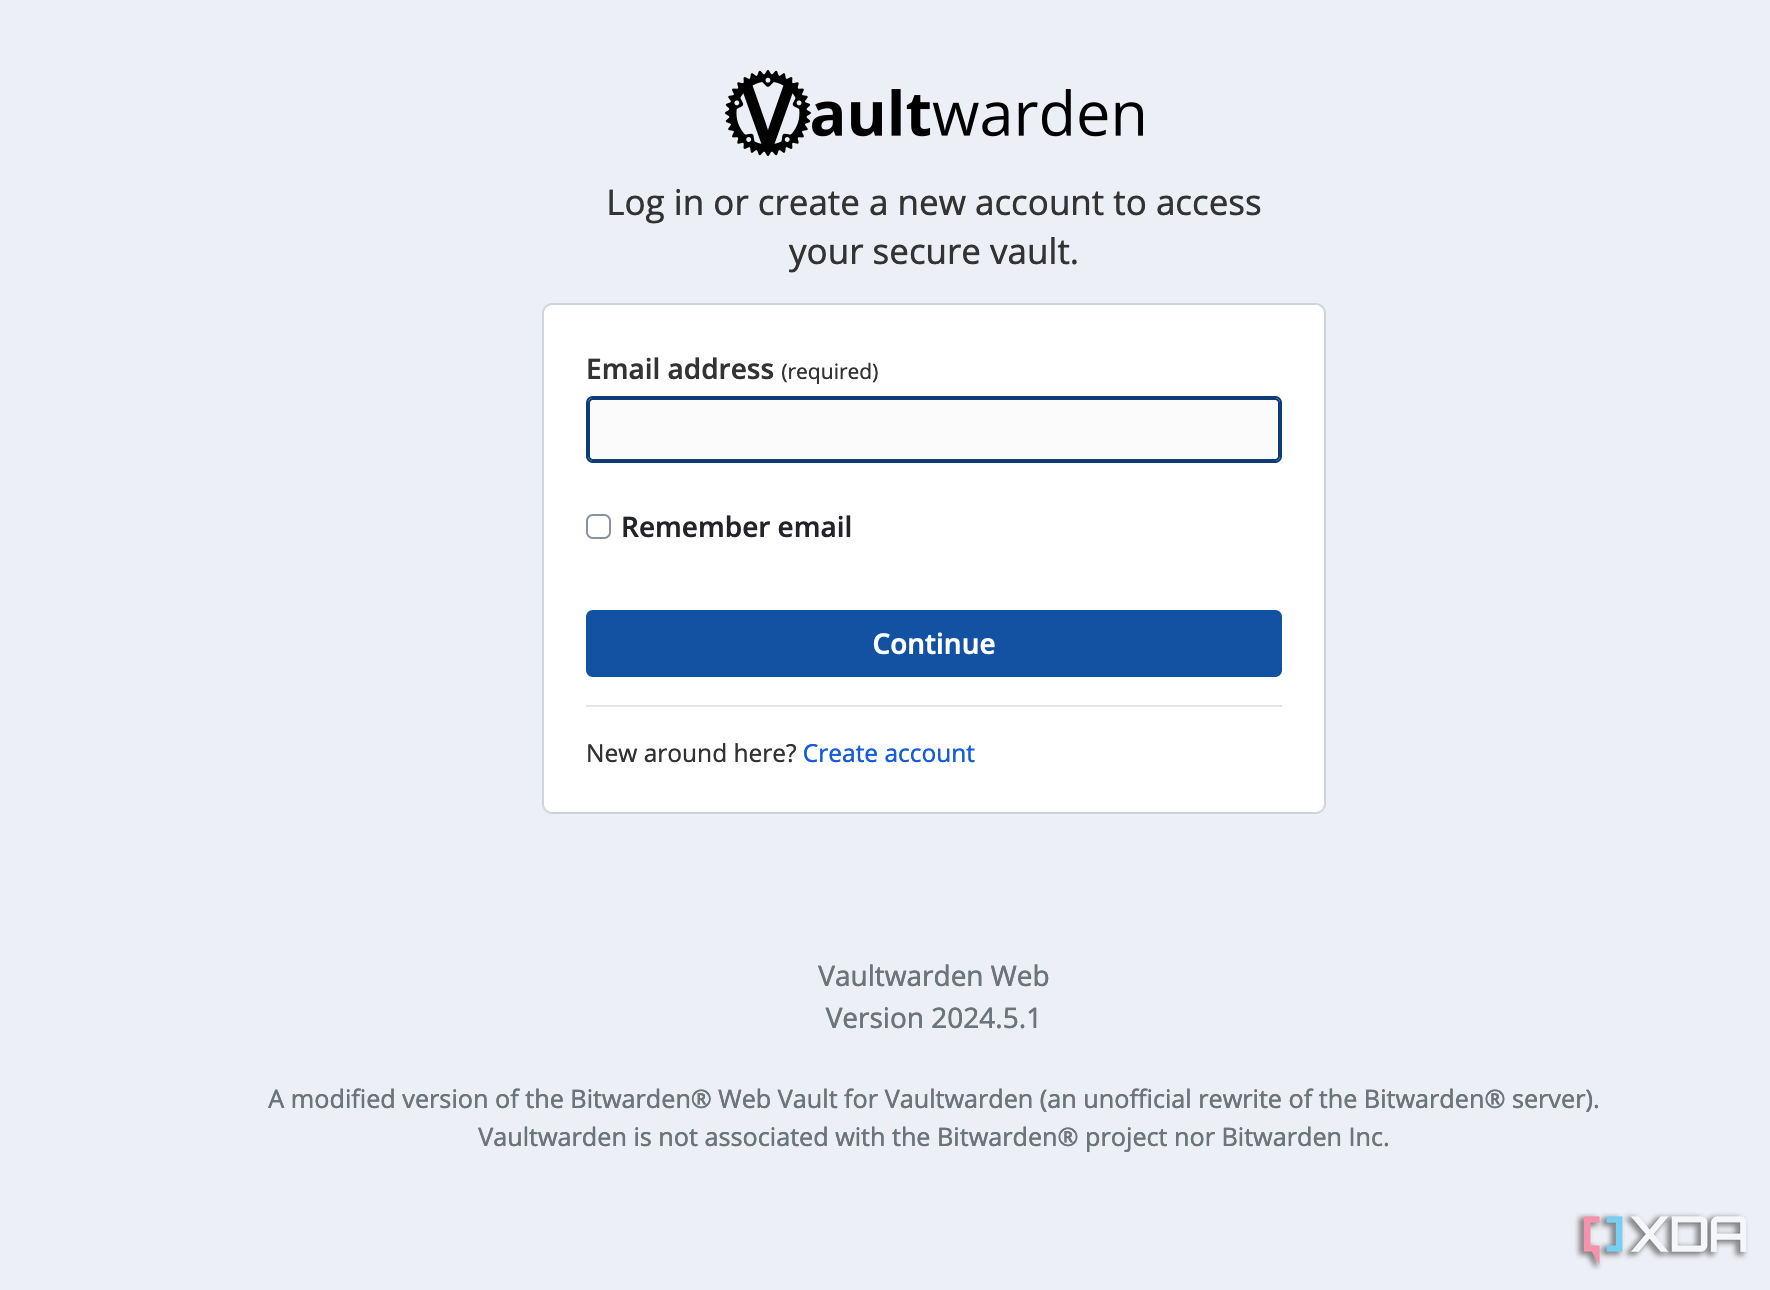
- Voilà! Now you've got your own personal self-hosted Bitwarden-based security instance, accessible from any device in your house.


Vaultwarden is great for making your passwords accessible across your network
I'm a big fan of Vaultwarden (and, by extension, the self-hosted version of Bitwarden). It's a great way to make your passwords accessible across your network, including everything from servers to your mobile devices. It means you don't need ten different logins, and can share different accounts and sets of passwords easily with users across your network if you'd like.
Vaultwarden is also great for avoiding installing a plugin or app on every device you use to store your passwords. It's a great alternative to running Bitwarden on your local machine, especially if you've got a lot of devices or need easy access to lots of new devices, like Virtual Machines or containers. Just make sure to keep things up to date and follow best practices for maintaining your privacy.


0 Comments